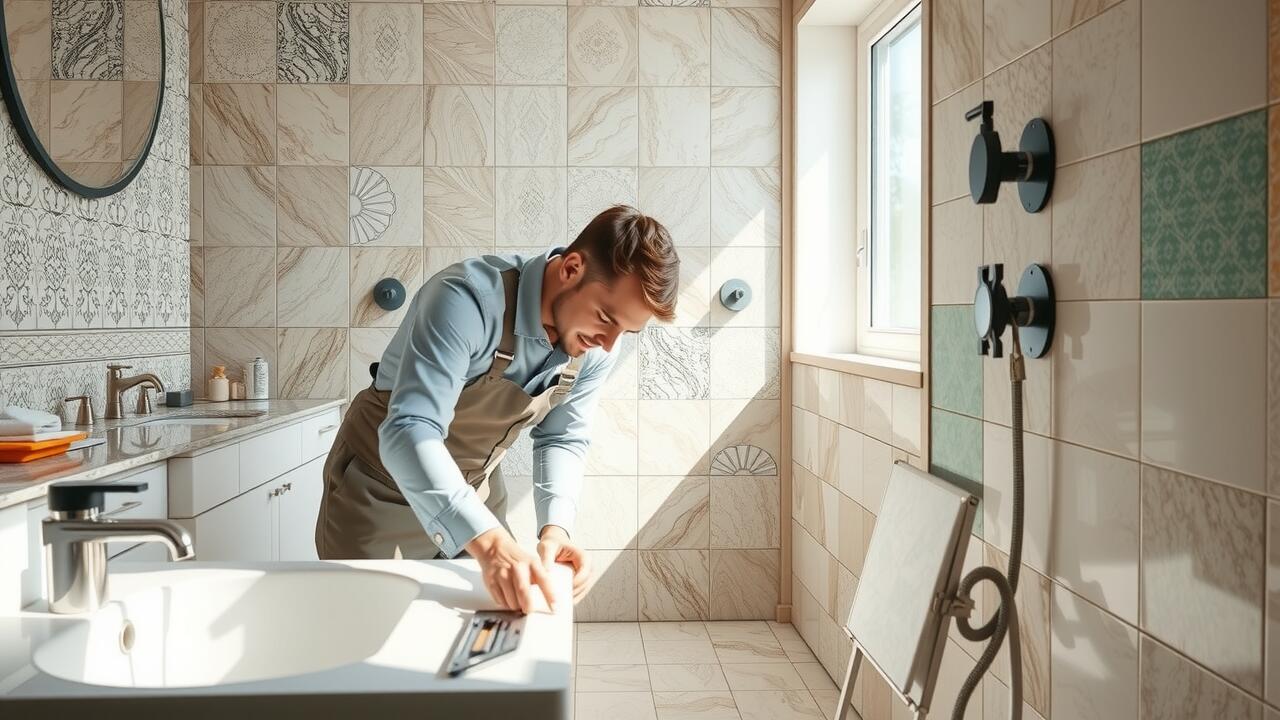
At Bathroom Fitters Stoke on Trent, we specialise in expert wall tiling services that elevate the aesthetic and functionality of your bathroom. Our skilled team is dedicated to delivering high-quality craftsmanship, utilising a wide range of beautiful tiles to suit your personal style and preferences. Whether you desire elegant ceramic, sleek porcelain, or trendy mosaics, we carefully install each tile with precision to ensure a flawless finish. We understand that wall tiling is not just about appearances; it also plays a vital role in moisture resistance and durability. With our attention to detail and commitment to excellence, we transform your bathroom space into a stunning and practical oasis.
Tools and Materials Needed
To embark on a successful tiling project, gather essential tools and materials that ensure quality and precision. A trowel is indispensable for applying adhesive, while a spirit level ensures that each tile is perfectly aligned. A tape measure assists in accurate cuts, and a pencil marks where tiles will be placed. It’s wise to have a bucket handy for mixing mortar and grout. Depending on the tile type, whether it is porcelain, marble, or travertine, specific adhesives and sealants may be required to maintain integrity against moisture.
Choosing the right materials also plays a crucial role in the overall aesthetics and durability of the installation. Consider the size and colour of the tiles, as well as any specific design preferences. Larger format tiles, mosaic designs, or even traditional brick patterns offer diverse décor options. Don’t overlook grout, which not only fills joints but affects the final look. Selecting a high-quality grout in a complementary shade can highlight the tile's features while providing necessary strength. A sponge will be useful for cleaning excess grout and adhesive, ensuring a professional finish.
Must-Have Tools for a Successful Tiling Job
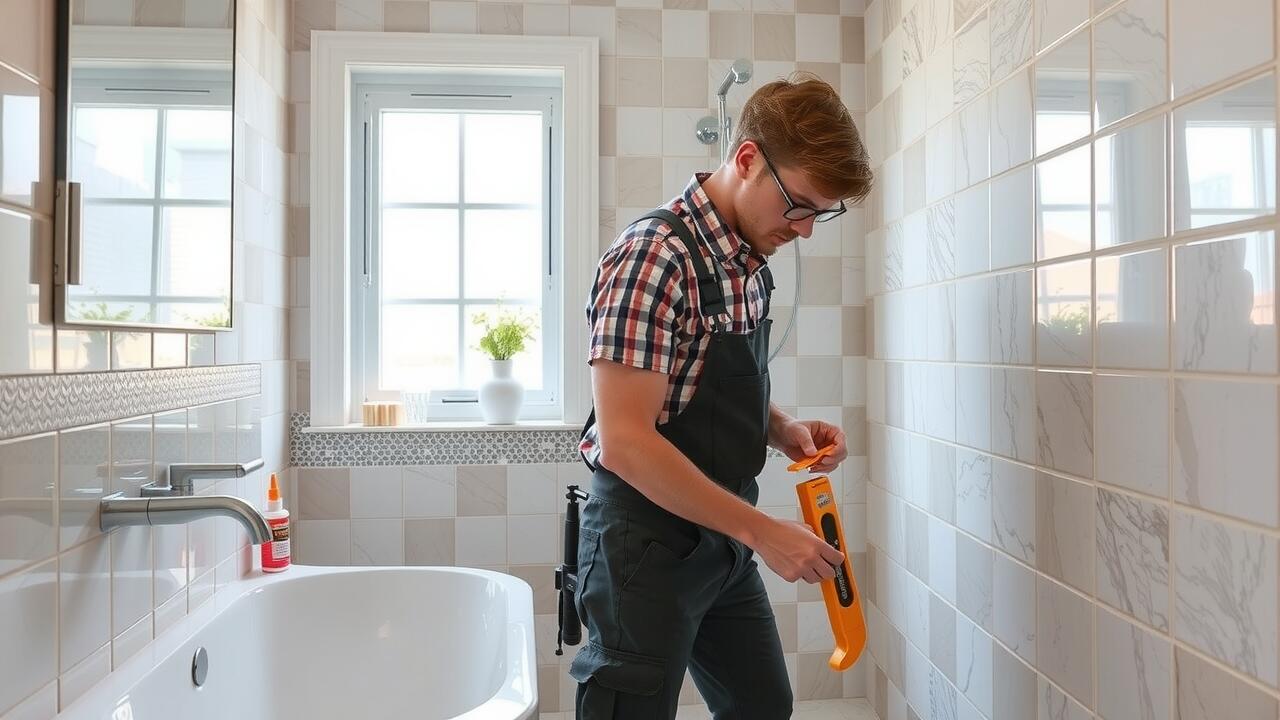
A successful tiling job begins with the right tools. A reliable trowel is essential for spreading adhesive evenly across the surface. A spirit level ensures that tiles are aligned correctly, while a tile cutter helps achieve precise cuts, especially when working around edges and fixtures like basins. A rubber mallet can aid in gently positioning tiles without causing damage. Additional tools such as a drill will come in handy for installing wall anchors and other necessary fittings.
For measuring, a tape measure and calculator are vital to determine the area and amount of materials required, helping to stay within budget. A sponge will be useful for cleaning excess grout, and a sealant applicator ensures that joints are well-protected against moisture. Considering aesthetics, investing in a mitre saw can improve the overall look of the installation with clean angles, particularly for intricate designs like a herringbone pattern. Each tool plays an integral role in achieving a polished finish in your living spaces, whether in a bathroom, bedroom, or wet room.
Installation Techniques
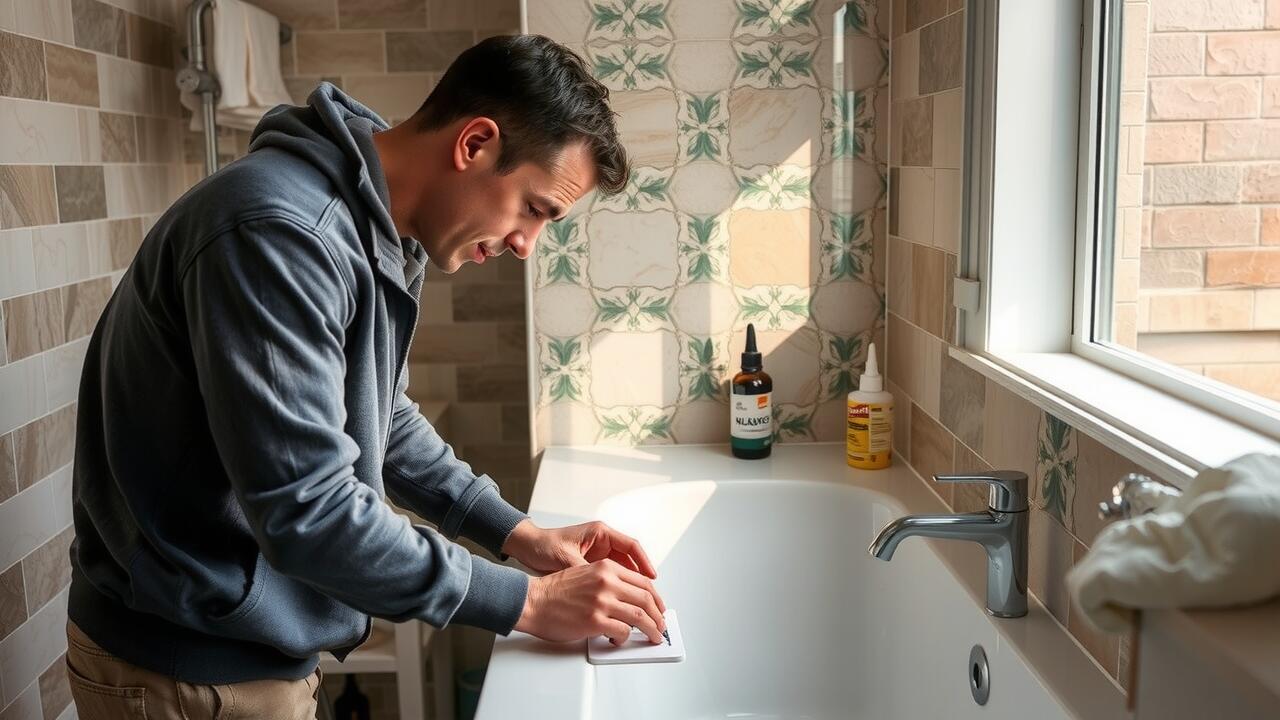
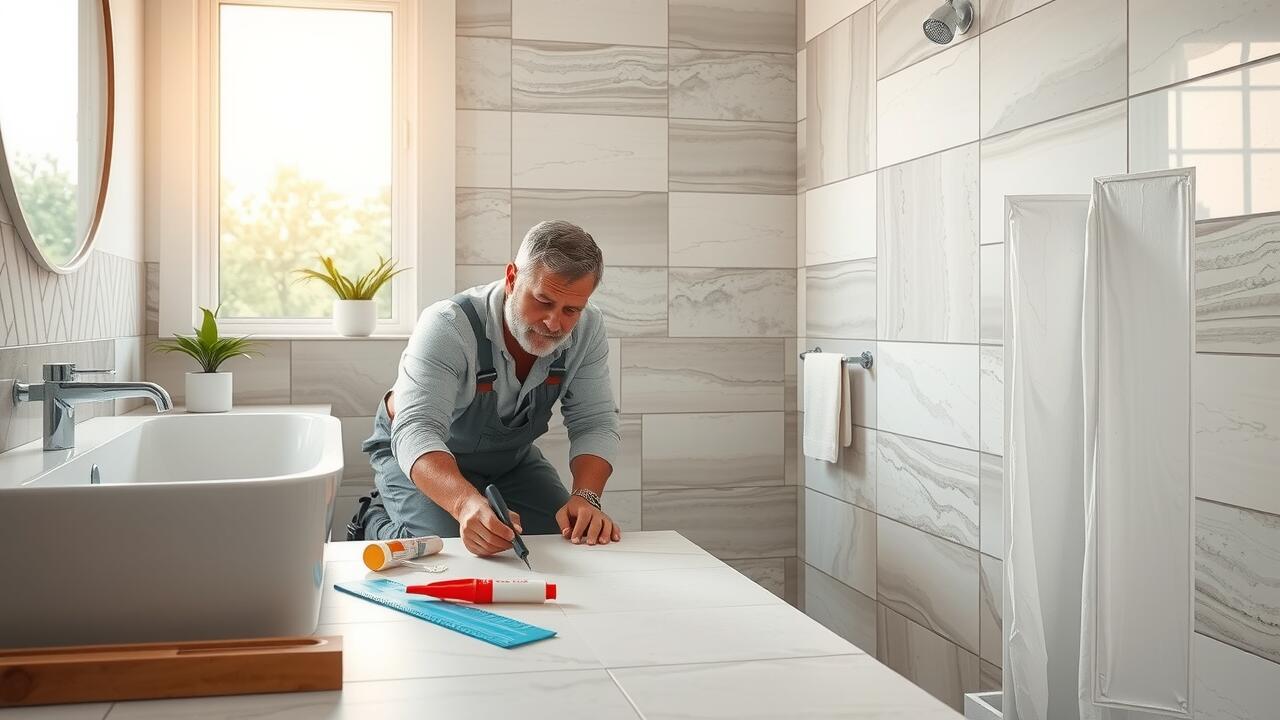
Preparing the surface for wall tiling involves ensuring a clean and level foundation. Whether using cement board or drywall, any imperfections must be addressed before applying tiles. Employ a spirit level to check for flatness and use sandpaper for smoothing any irregularities. For vertical installations, a chalk line assists in marking a precise starting point to ensure accurate tile placement. This preparation is crucial, especially when working with larger formats such as xxls or designs featuring intricate patterns.
When it comes to the actual installation, begin at the bottom to maintain a sturdy base. Apply adhesive using a notched trowel, ensuring enough coverage to support the tiles. Position the tiles, making sure to use spacers for even grout lines. For vintage styles like Moroccan or red brick, the layout may require careful navigation around specific shapes or features. Once all tiles are in place, allow the adhesive to cure according to product instructions before moving on to grout application, which will enhance both water resistance and overall durability.
Step-by-Step Guide to Tiling Walls
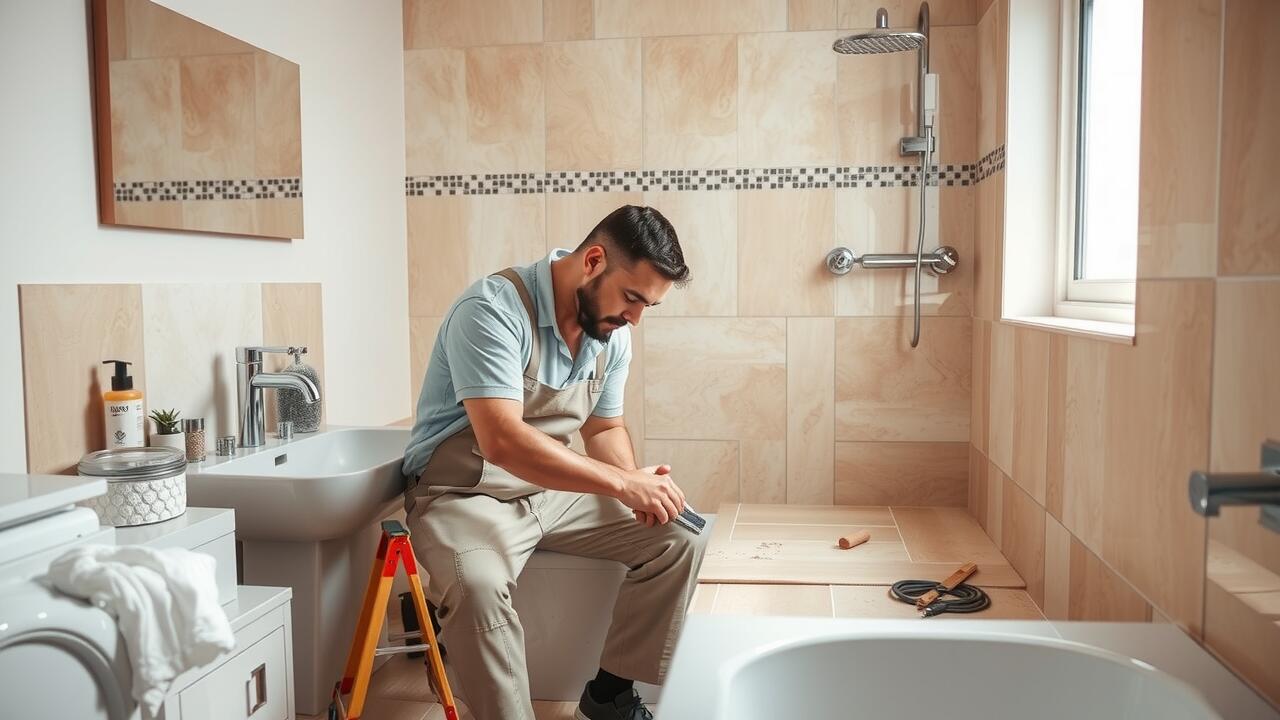
Before beginning the tiling process, it is essential to prepare the wall surface properly. Remove any fixtures, such as kitchen sinks or door frames, to ensure a clear area for tile application. Clean the wall thoroughly to eliminate dust and debris. In cases of painted or textured walls, consider using a chisel to flatten uneven surfaces or sanding to create a smooth base. If water damage is present, repair the affected areas before proceeding. Measure the wall to determine the precise layout for the tiles, ensuring to account for patterns and design motifs you wish to achieve, particularly if opting for retro-style or art deco designs.
Once the wall is prepared, it's time to apply the chosen adhesive. Use a notched trowel to spread the adhesive evenly across the wall, starting from the centre and moving outward to maintain symmetry. As you place the glazed tiles or porcelain pieces, press firmly to ensure proper adhesion. Employ spacers between tiles for consistent gaps that allow for grout application later. Pay attention to the coefficient of friction, especially in wet areas, to ensure safety. Finally, once all tiles are laid and the adhesive has cured, choose the right grout to fill the joints, ensuring the finished surface is watertight and durable enough for long-term use.
Grout and Joint Considerations
Choosing the right grout is essential for ensuring the durability and aesthetics of your wall tiling project. Grout comes in various formulations, including cement-based, epoxy, and urethane blends, each offering different levels of resistance to moisture and wear. For areas exposed to high humidity, such as bathrooms, a waterproof variant can prevent damage and maintain the integrity of the tiles. Consider also the colour of the grout, as this can enhance or detract from the overall design, particularly in minimalist settings where clean lines and subtle contrasts are key.
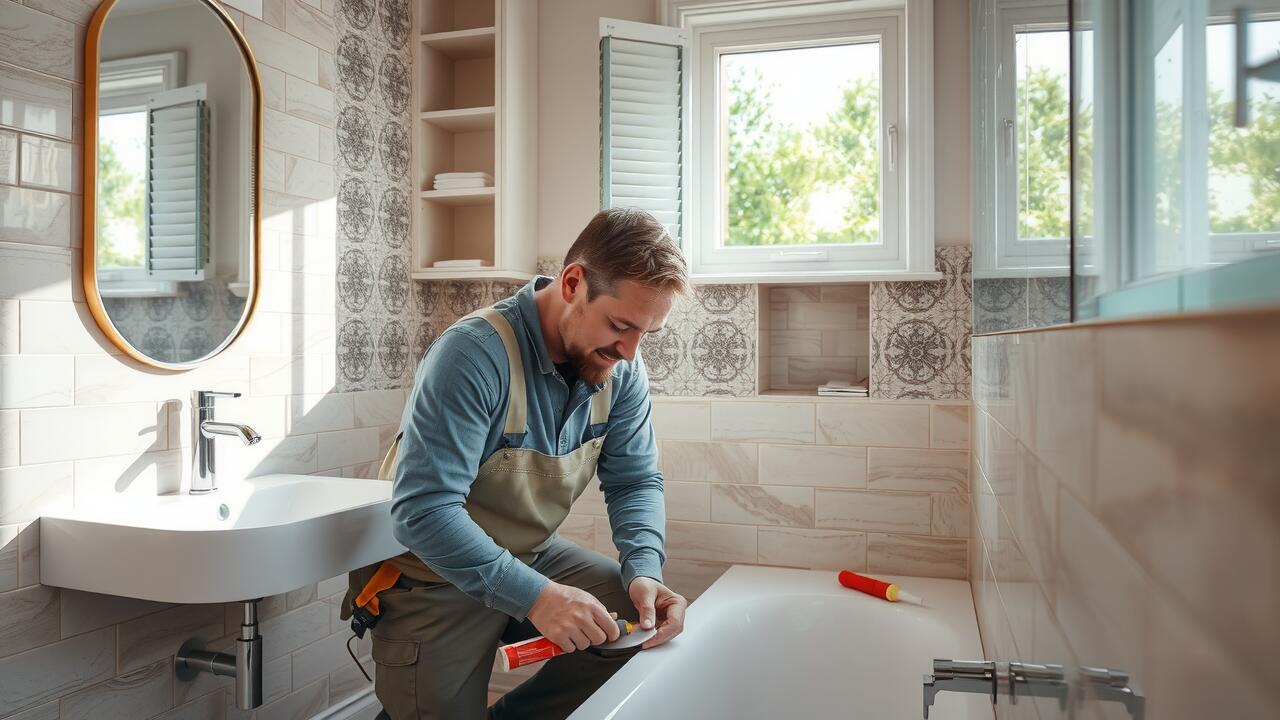
When it comes to joints, the method of installation can significantly impact the final look and functionality of your tiled walls. A mitre joint may be desirable for achieving a seamless transition in corners, while a standard butt joint can be appropriate for a more traditional appearance. For added protection, the application of a silicone sealant can help to minimise the risk of moisture ingress between tiles, especially in areas around pipes or fixtures. Selecting the right materials and techniques will ensure your bathroom not only looks stunning but withstands the test of time.
Choosing the Right Grout for Durability
Selecting the appropriate grout for wall tiling is essential to ensure long-lasting durability. Epoxy grout stands out for its exceptional mechanical strength and resistance to water, chemicals, and stains. Its ability to withstand high foot traffic makes it ideal for spaces such as bathrooms and kitchens, where spills and moisture are common. For areas exposed to intense wear, such as an en suite with high usage, considering options like quartz or diamond-infused grouts can further enhance durability. Choosing a grout colour that complements your chosen tiles, such as white marble or mint green porcelain, can also create an aesthetically pleasing finish.
It is important to consider the application environment when choosing grout. For wet areas, such as around showers or baths, opting for grout with fire resistance properties is advisable. Many modern grout formulations include additives that improve adhesion and reduce the risk of cracking or discolouration. When tiling a feature wall, particularly with materials like red brick or laminate flooring, the right grout can not only provide functionality but also play a significant role in the overall design scheme. A well-chosen grout ensures your tiling project remains intact and visually appealing for years to come.
FAQS
What tools do I need for wall tiling?
For wall tiling, you will need essential tools such as a tile cutter, trowel, spirit level, measuring tape, tile spacers, and a grout float. Additionally, safety gear like gloves and goggles is recommended.
What is the first step in installing wall tiles?
The first step in installing wall tiles is to prepare the wall surface. This includes cleaning the area, making any necessary repairs, and ensuring the surface is level and smooth before applying adhesive.
How do I choose the right grout for my wall tiles?
When choosing grout for wall tiles, consider factors such as the type of tiles, the joint width, and the moisture levels in the area. For wet areas like bathrooms, opt for a moisture-resistant grout.
Can I tile over existing tiles?
Yes, you can tile over existing tiles if they are in good condition, secure, and properly cleaned. However, it’s important to check that the surface is level and suitable for the new tiles.
How long does it take for tile adhesive and grout to cure?
Tile adhesive typically takes 24 hours to set, while grout can take up to 72 hours to fully cure. It’s essential to follow the manufacturer's instructions for the best results.