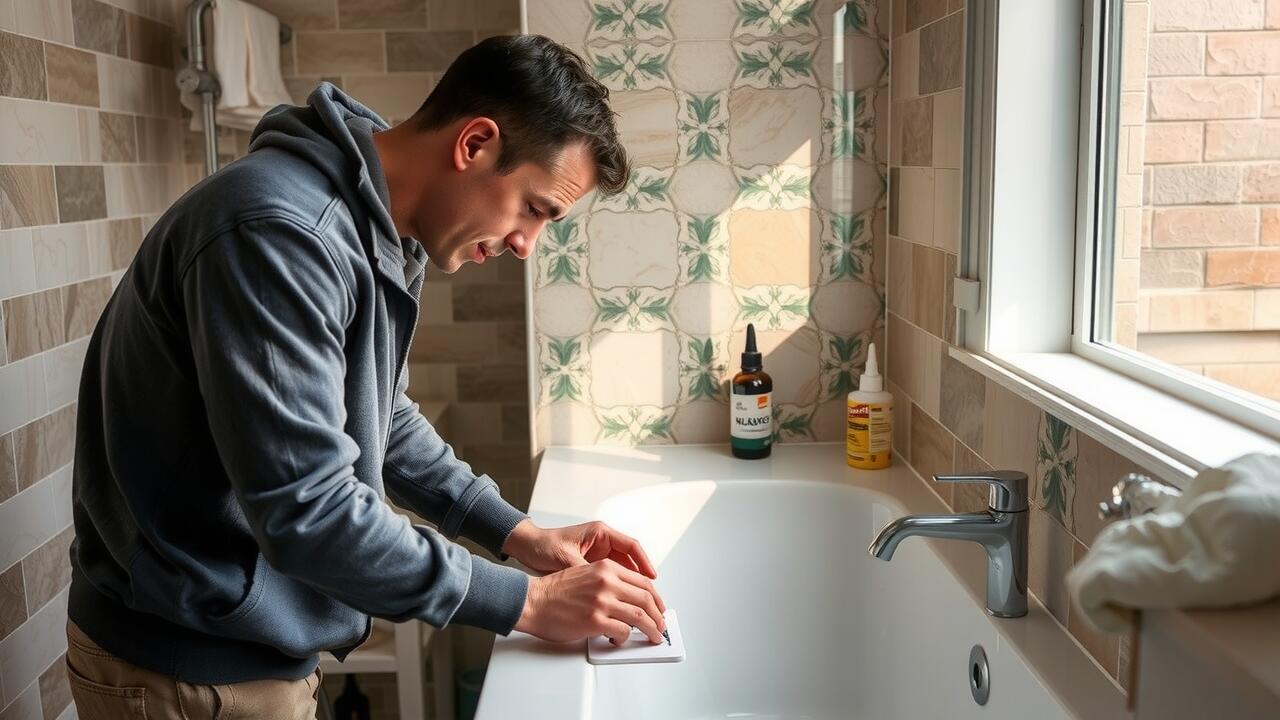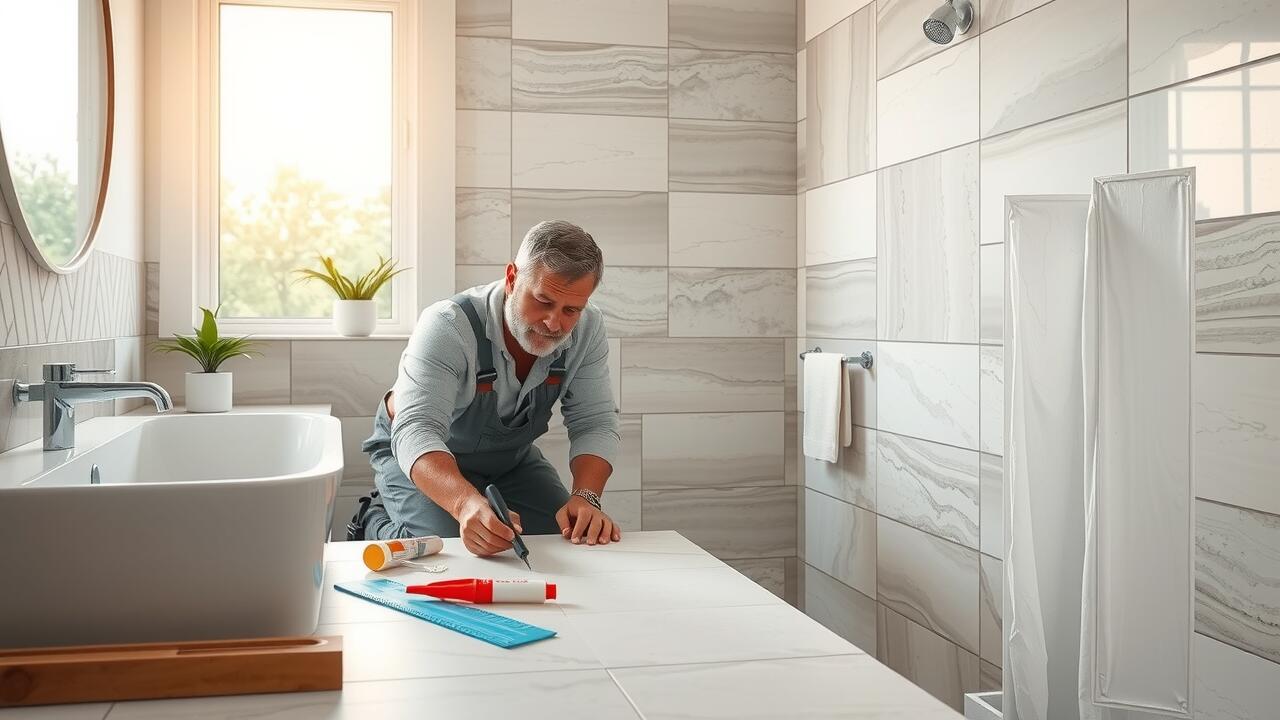
Marking the Tiling Guidelines
Before beginning any tiling project, it is essential to establish clear guidelines for where the tiles will be positioned on the wall. This can be achieved by using a level and a pencil to mark vertical and horizontal lines that will serve as references. Starting from the centre of the wall often provides a more balanced aesthetic, particularly in spaces that will be highly visible. For those in regions such as Ball Green, Stoke-on-Trent, taking accurate measurements and ensuring that these lines are perfectly straight helps to avoid uneven tiling.
It is advisable to use a chalk line for longer walls. Once you have marked the centre and determined the layout, snap the chalk line to create a guide that runs the full height of the wall. This will not only help in aligning the tiles but also assist in maintaining a consistent spacing, especially when using spacers. For walls that may have imperfections, it is crucial to consistently check the level of your markings to ensure a professional finish throughout the entire tiling project.
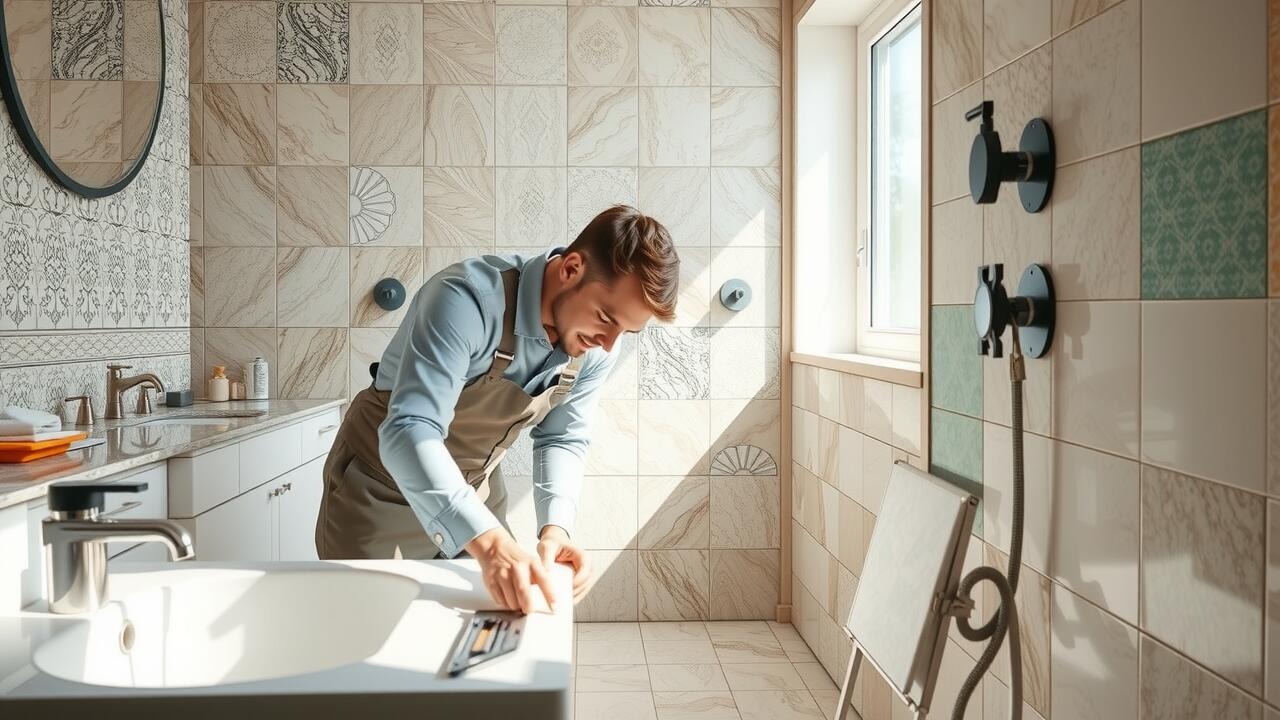
Techniques for Accurate Measurements
Accurate measurements are crucial when tiling a wall to ensure a professional finish. Begin by determining the height and width of the surface to be tiled. Using a reliable tape measure, take measurements at multiple points to account for any irregularities in the wall. This will help in calculating the total number of tiles required, including allowances for cuts or wastage. In Baddeley Green, Stoke-on-Trent wall tiling projects, precise measurements can significantly influence the overall aesthetic and functionality of the tiled area.
Once you have your measurements, it is essential to transfer these onto the wall accurately. A chalk line can be used to delineate straight lines on the surface, providing a visual guide for tile placement. Start by marking the centre point at eye level and work your way outwards. This ensures that the layout appears symmetrical and balanced. For more complex areas, consider creating a simple diagram or sketch to visualise how the tiles will fit together. Taking the time to achieve precise measurements will ultimately result in a more polished and appealing finished product.
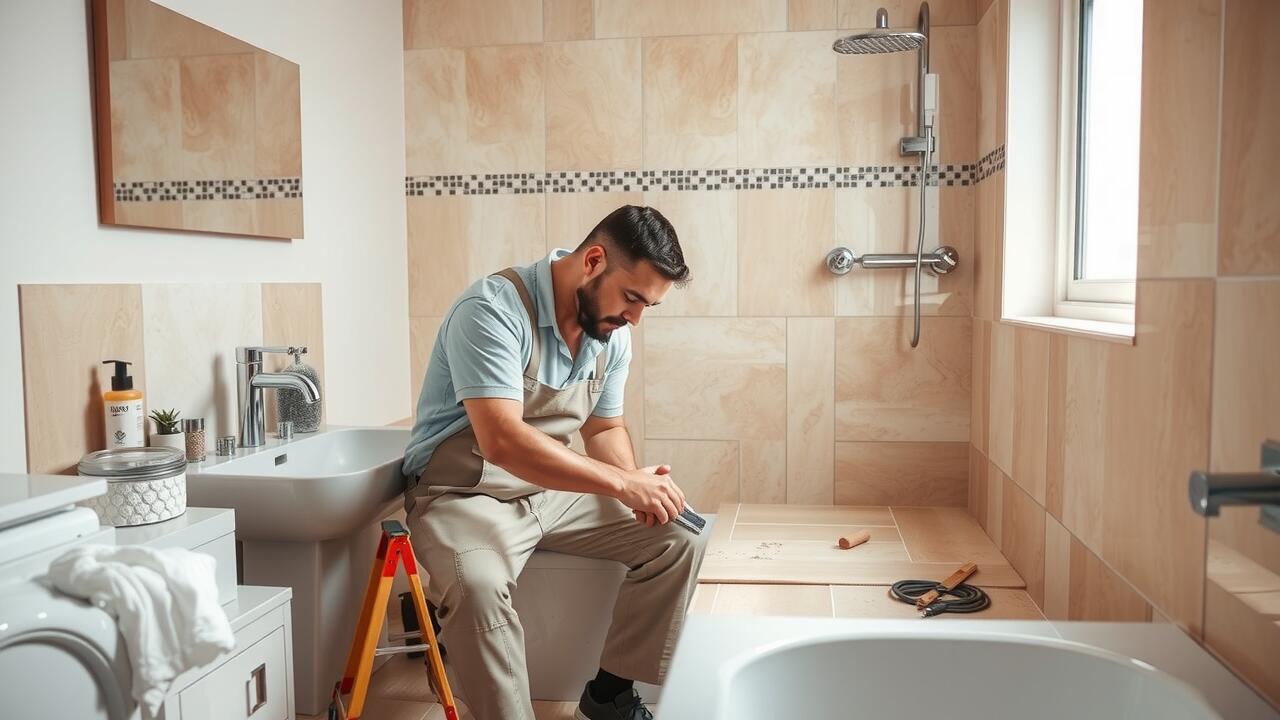
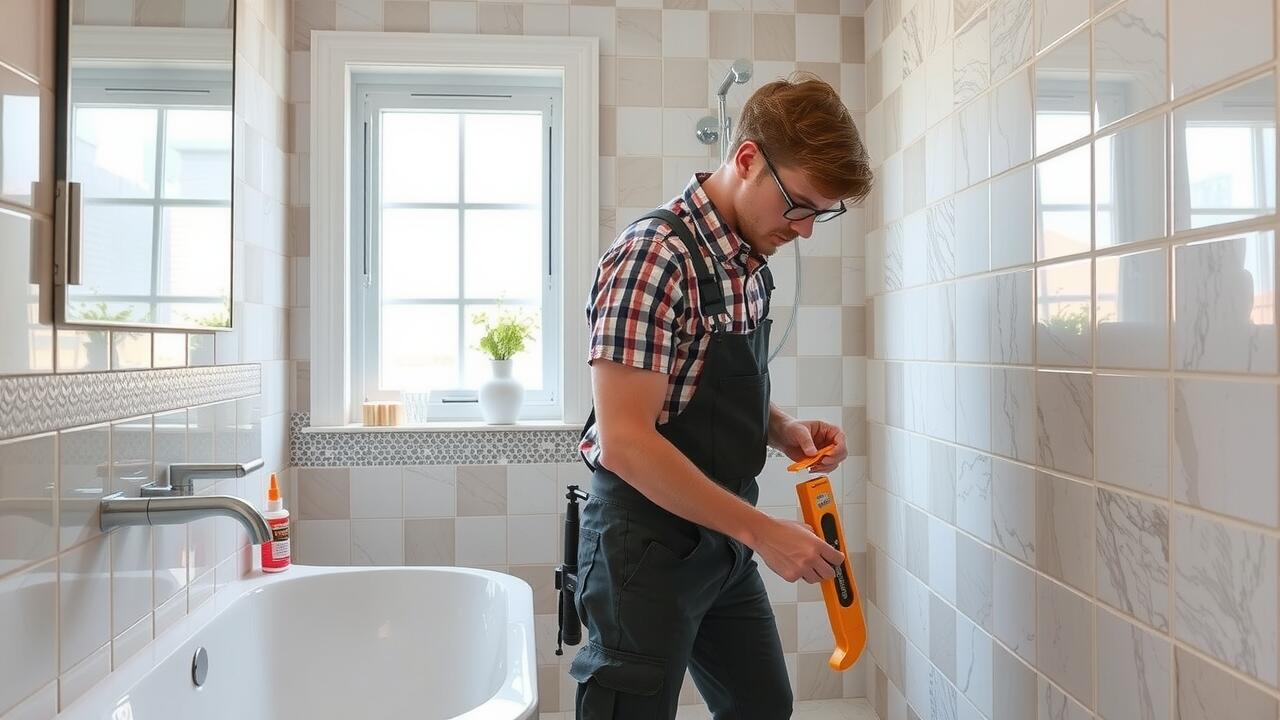
Applying Adhesive to the Wall
Before applying adhesive to the wall, ensure that the surface is clean and free of dust. Gather the appropriate adhesive for your tiles, as this will significantly affect the outcome. Using a notched trowel, scoop out an adequate amount of adhesive and press it onto the wall in a uniform manner. This application method promotes better adhesion when the tiles are placed. For Ball Green, Stoke-on-Trent wall tiling, it is crucial to choose a suitable adhesive that can withstand the area's specific environmental conditions.
While applying the adhesive, work in sections to maintain control and prevent the adhesive from drying out before you place the tiles. Hold the notched trowel at a consistent angle to achieve the desired ridges, which will help the tiles bond securely. Avoid applying too much adhesive at once, as this can lead to messy buildup and uneven surfaces. Focus on creating a smooth, even layer that will provide a strong foundation for the tiles during installation.
Tips for Even Adhesive Distribution
Achieving an even distribution of adhesive is essential for a successful tiling project. Start by using a notched trowel, as the notches create grooves that help to evenly spread the adhesive across the wall surface. Make sure to hold the trowel at an angle of approximately 45 degrees. This technique promotes a well-balanced layer, allowing the tiles to bond effectively while preventing the adhesive from oozing out when the tiles are pressed into place.
When applying the adhesive, work in small sections to ensure that it remains workable and does not dry out before you position your tiles. If you are in Baddeley Green, Stoke-on-Trent, consider the local climate, as humidity and temperature can influence the drying time. Aim to cover an area that you feel comfortable tiling within the adhesive's working time, typically around 15 to 30 minutes, depending on the product used. This approach will help to achieve a strong hold and a smooth finish for your wall tiling.
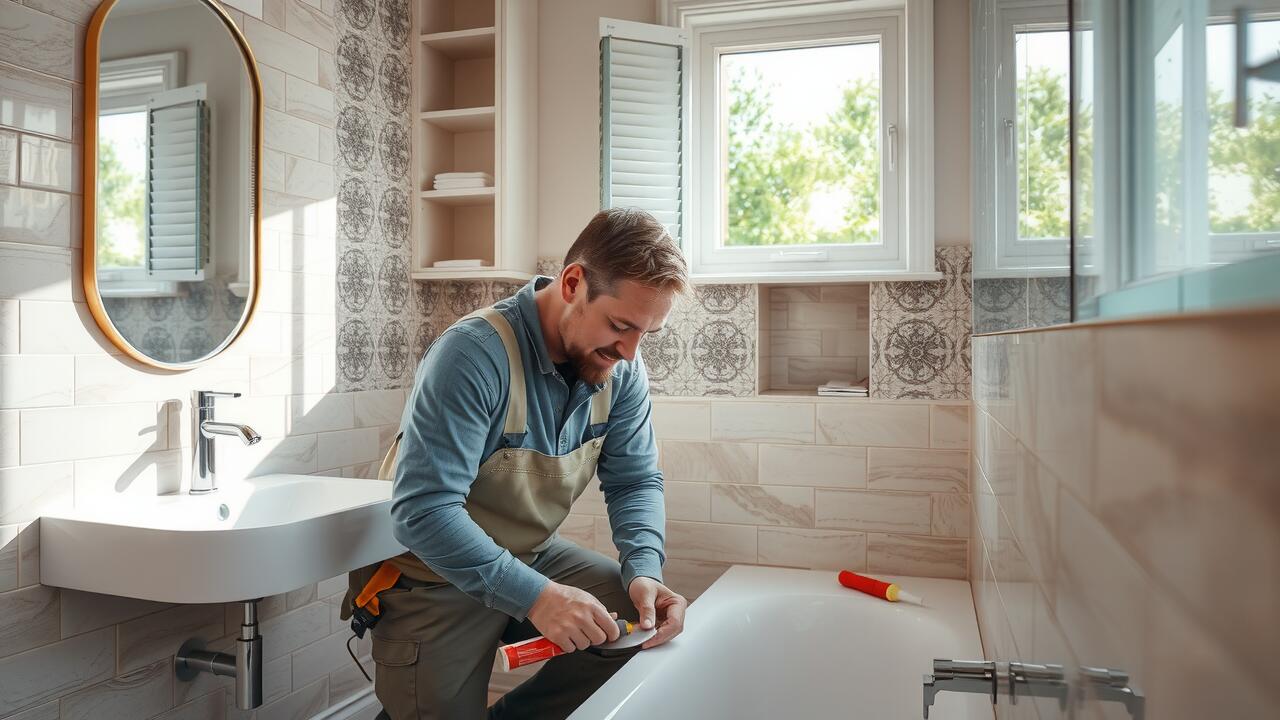
Positioning the First Tile
Positioning the first tile is crucial to achieving a professional finish in your wall tiling project. It is often recommended to begin from the centre of the wall rather than a corner. This approach helps in ensuring symmetry and allows for a more aesthetically pleasing result. A spirit level can be employed to draw a vertical line at the midpoint of the wall, serving as a guide for the first tile. Ensuring this line is straight will help maintain uniformity for the rest of the tiles.
When placing the tile, gently press it into the adhesive while slightly twisting to ensure an even bond. Taking your time at this initial stage can prevent complications later on. For those undertaking Stoke-on-Trent wall tiling, it can be helpful to use tile spacers to maintain consistent gaps between tiles. This practice not only aids in alignment but also prepares the surface for grouting in a neat manner once the adhesive has set.
Ensuring Proper Alignment
Ensuring proper alignment is crucial for a professional finish when tiling a wall. Start by placing a tile at a corner or reference point. Use a spirit level to check that the tile is perfectly vertical or horizontal. Making this initial tile align correctly will help guide the rest of the installation, allowing for a consistent pattern across the entire surface.
Ball Green, Stoke-on-Trent wall tiling projects benefit greatly from attention to detail during this stage. Once the first tile is positioned, use spacers to maintain even gaps between tiles. Regularly step back to assess the alignment visually. This habit reduces the chance of minor misalignments that become more pronounced as the tiling progresses.
FAQS
What is the best way to mark tiling guidelines on a wall?
The best way to mark tiling guidelines is to use a level and a pencil to draw straight lines at the desired height. You can start from the centre of the wall and work outwards to ensure a balanced look.
How can I ensure accurate measurements for tiling?
To ensure accurate measurements, use a tape measure and double-check your dimensions. It’s helpful to measure the wall in multiple places and mark the measurements before cutting any tiles.
What type of adhesive should I use for wall tiling?
The type of adhesive you should use depends on the tiles and the wall surface. A thin-set mortar is commonly used for ceramic and porcelain tiles, while a mastic adhesive may be suitable for lighter tiles in dry areas.
What tips can help achieve even adhesive distribution?
To achieve even adhesive distribution, use a notched trowel to spread the adhesive. Hold the trowel at a consistent angle and apply enough pressure to create ridges, ensuring full contact with the tiles.
How do I position the first tile for proper alignment?
To position the first tile for proper alignment, start at the bottom and centre of your marked guidelines. Press the tile firmly into the adhesive, then use spacers to maintain even gaps between tiles as you work upward.