Ensuring Proper Alignment
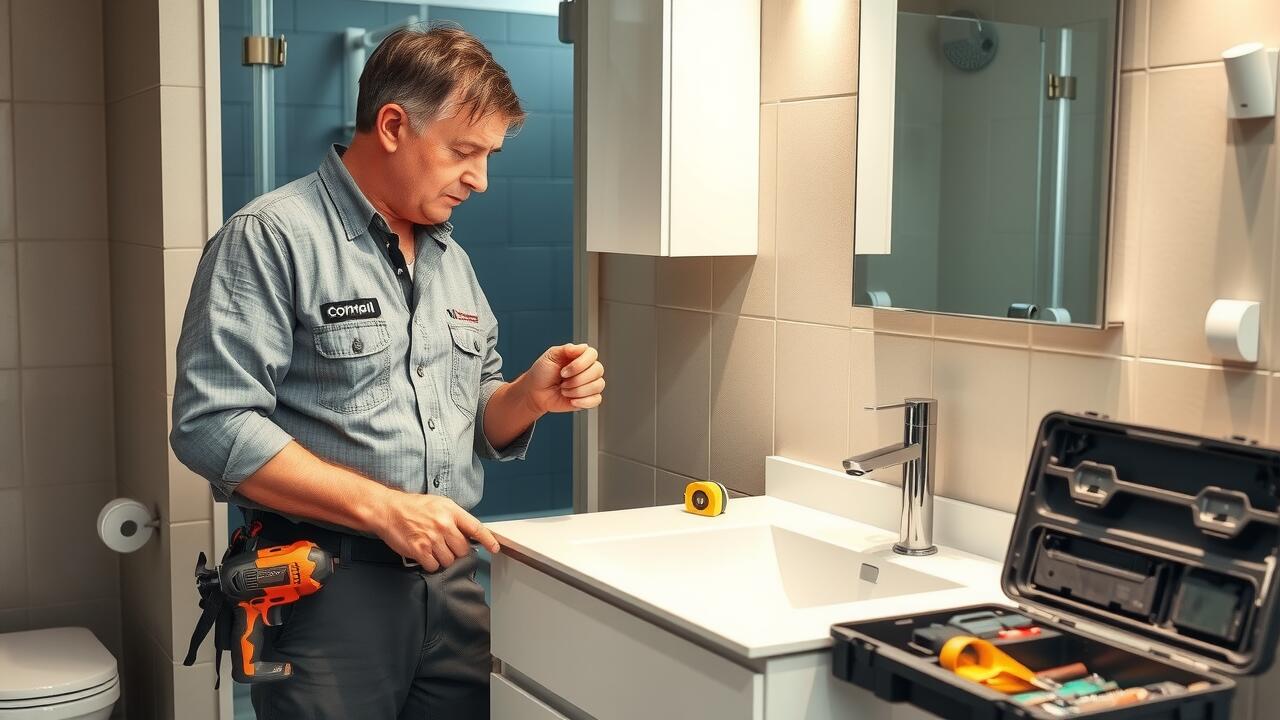
Proper alignment is crucial when installing a vanity in your bathroom. Begin by ensuring the wall studs are located using a stud finder, as these will provide the necessary support for the vanity. Mark the desired height of the vanity on the wall, usually aligning it with the height of the washbasin. When positioning the vanity, place it against the wall and check for levelness using a spirit level. Adjust as needed, using shims to elevate one side if the floor is uneven. Secure the vanity to the wall and ensure it remains stable before moving forward with the installation.
After securing the vanity, align the countertop and sink appropriately. Double-check the placement of the basin to ensure it is centred and level with the countertop. The sink’s drainage pipes, hoses, and valves should easily line up with the existing plumbing. Adequate clearance is essential for the faucet and tap installation as well. Any misalignment at this stage may lead to challenges later, such as leaks or improper functioning of drawers and plumbing fixtures. Ensuring everything is perfectly aligned will save time and prevent water damage down the line.
Using a Spirit Level for Precision
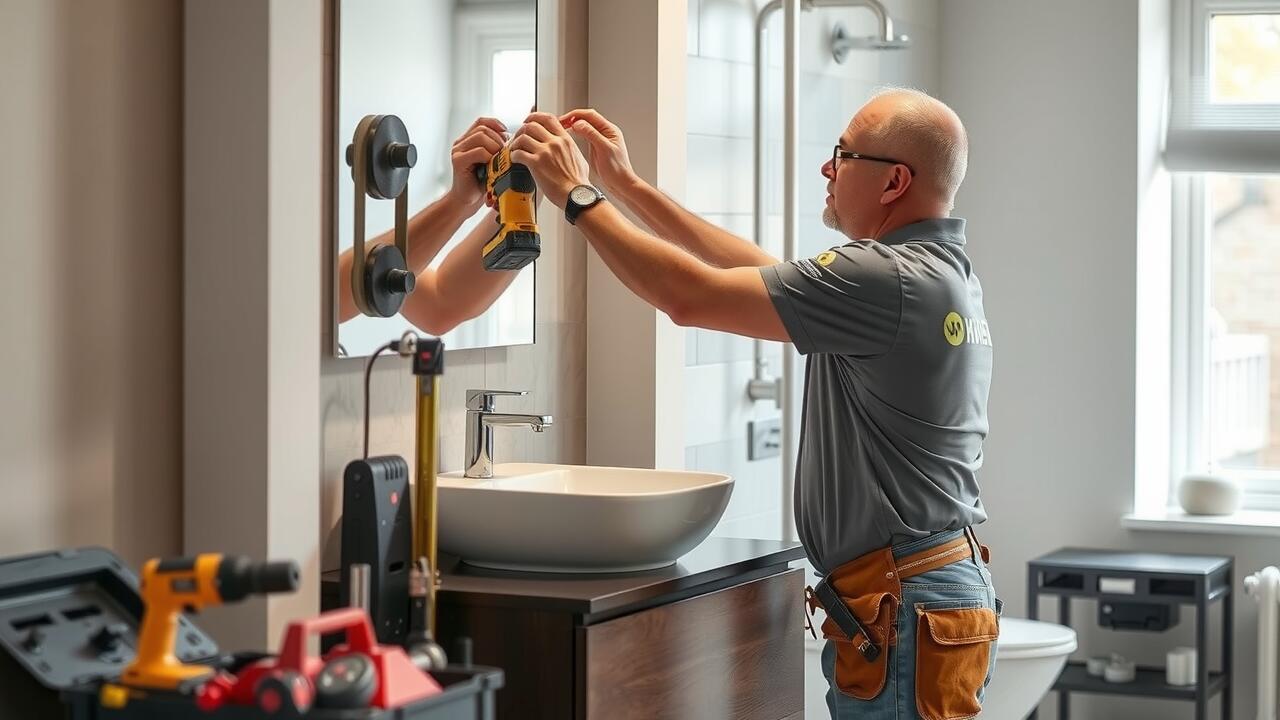
Achieving a flawless vanity installation hinges on precise alignment, and a spirit level is an indispensable tool in this process. This device ensures that your worktop sits perfectly horizontal, avoiding any water pooling or uneven surfaces. When positioning sinks or cabinetry, it's vital to measure at various points, particularly when dealing with wall-mounted fixtures. A small deviation can lead to significant issues, including improper drainage or fitting problems with plumbing fixtures.
Before securing any elements, take the time to establish a flat surface using the spirit level. Place it across the width and length of the vanity unit and make adjustments as necessary. Ensure that the surface is level before proceeding to mark pilot holes for wall plugs or anchors. This attention to detail prevents common mistakes and guarantees that the vanity stands sturdy and aesthetically pleasing. Regular checks throughout the installation process will save time and effort, helping you achieve a professional finish.
Sealing and Waterproofing
To ensure a watertight installation, applying silicone sealant around the edges of the vanity is essential. This step prevents any potential leakages that could arise from water contact. Using a caulking gun allows for a smooth, controlled application. It's crucial to select a high-quality silicone caulk specifically designed for bathrooms, as these types often contain mould inhibitors that enhance durability.
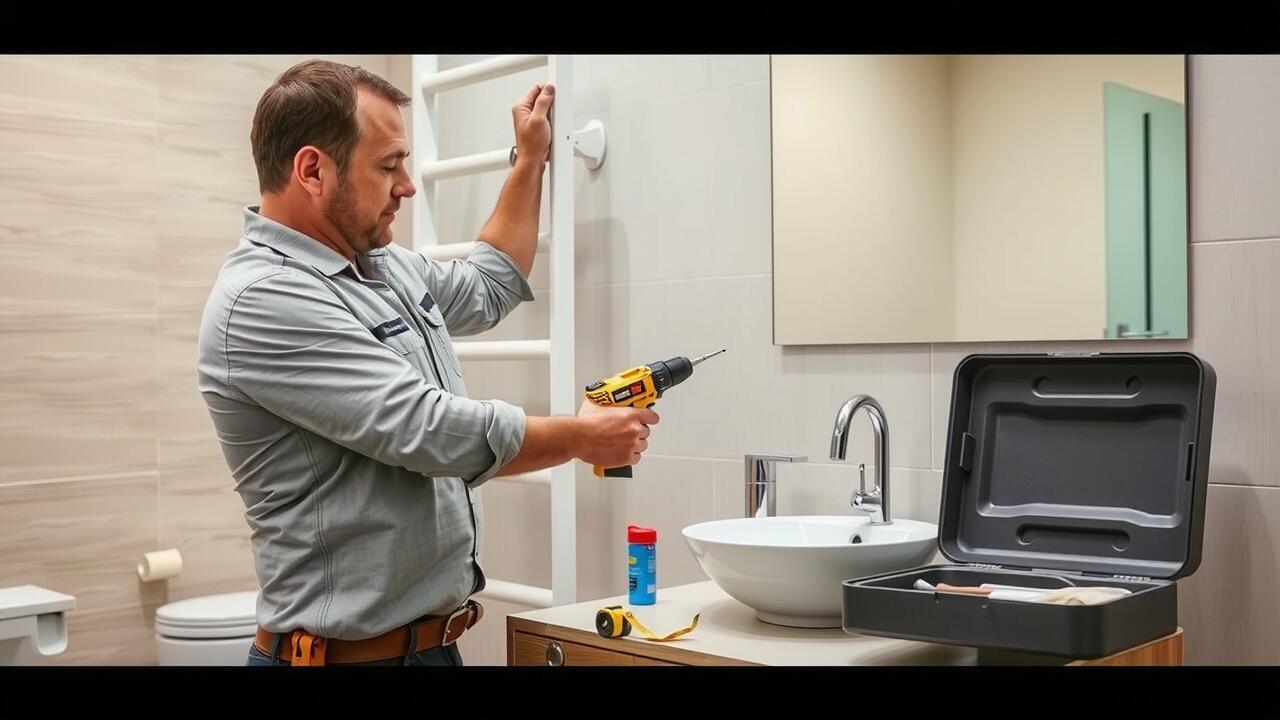
Before sealing, prepare the surface by cleaning it thoroughly to remove any dust or debris that might interfere with adhesion. A good practice is to use a measuring tape to gauge the areas needing sealant, ensuring a neat application. After applying the sealant, smoothing it down can help achieve a professional finish. Remember to wear safety glasses and ear protection when using power tools during the installation process to maintain safety in your home improvement project.
Application of Silicone Sealant
When installing a vanity, applying silicone sealant around the edges is essential for preventing water damage. This sealant acts as a barrier against moisture, helping to protect the underlying structure, especially if you have granite countertops or wash basins. To achieve the best results, use a caulking gun for a smooth and even application. Ensure the surfaces are clean and dry before proceeding. If necessary, use Teflon tape on threaded fittings to enhance the seal around plumbing connections.
Once the silicone is applied, a little patience goes a long way. Allow the sealant to cure fully as per manufacturer instructions before exposing it to water. Inspect for gaps or inconsistencies to prevent future leaks. Remember to dispose of any unused sealant responsibly, and consider recycling options if available. Being mindful of these steps during your installation will contribute positively to your bathroom remodel, creating a durable, aesthetically pleasing environment.
Common Mistakes to Avoid
When embarking on a vanity installation project, precise measurements are crucial. Many individuals overlook the importance of using a measuring tape to ensure proper dimensions. Miscalculations can lead to ill-fitting sinks or cabinetry. Additionally, leaving out essential elements like gaskets can result in leaks and potential water damage. It's wise to double-check the alignment of pipes and ensure that isolation valves are easily accessible, as this can save headaches down the line.
Another common oversight involves the application of silicone sealants. Applying too much or too little can compromise the watertight seal required for preventing seepage. Utilising a box cutter inaccurately can damage surfaces. Always ensure proper use of hardware such as anchors to secure the vanity in place. Simple tasks like leaving tools strewn about can lead to accidents, so maintaining a tidy workspace is essential. Planning ahead and researching installation best practices will create a smoother experience overall.
Tips for a Smooth Installation Experience
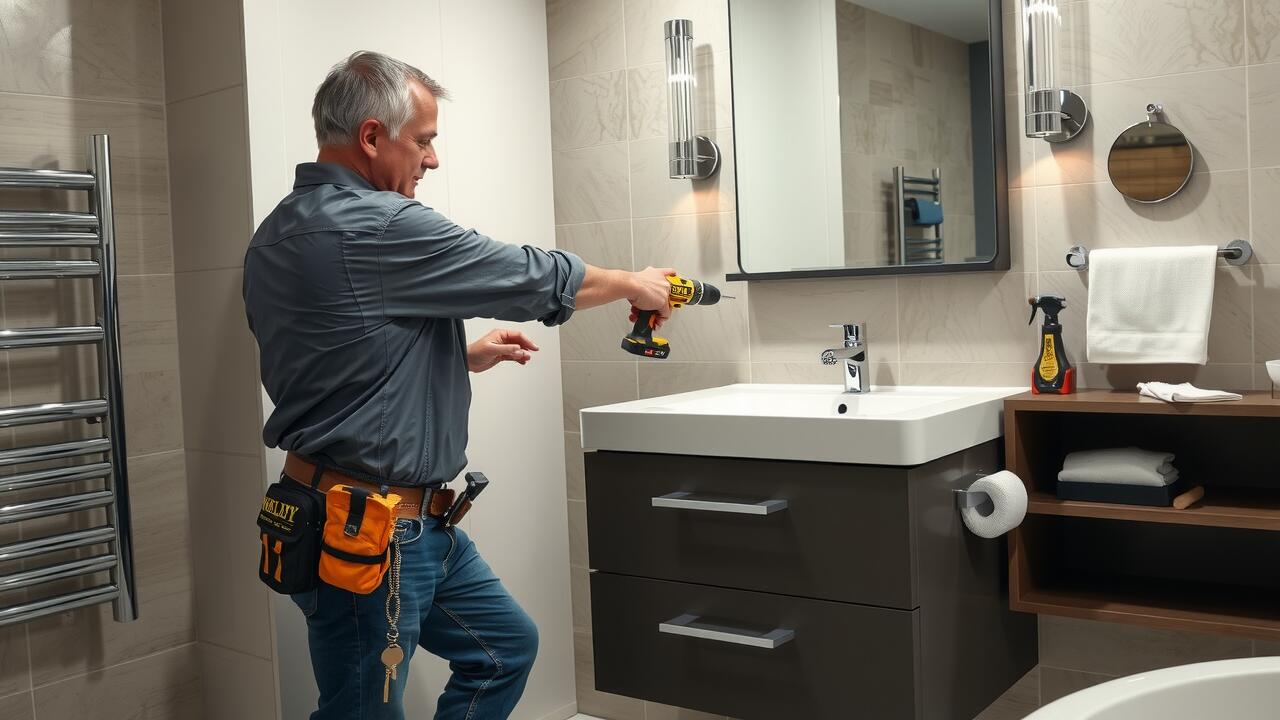
Careful planning is essential for a successful vanity installation. Start by gathering all necessary tools, from power tools to manual ones like a tape measure and utility knife. Ensure your cutting tools are sharp and your measurements accurate to avoid any mishaps. Keeping a checklist can help you manage your inventory effectively, ensuring that you have everything from screws and fasteners to the appropriate type of silicone sealant. It may also be wise to wear safety goggles and ear protection when working with power tools to minimise risk.
During the installation, maintaining a tidy workspace is crucial. Create a designated area free from clutter and distractions, which allows for better focus and accuracy. Be mindful of lighting; a well-lit space can help you see details clearly and prevent errors. Take your time when fitting the vanity to allow for adjustments if necessary. Should you encounter unexpected issues, having a strategy in place for plumbing adjustments or even simple alignments can provide valuable leeway, ensuring that your investment not only delivers beauty but is also functional and compliant with local building codes.
FAQS
What tools do I need for a vanity installation?
Essential tools for a vanity installation include a spirit level, tape measure, drill, screwdriver, and caulking gun. Depending on your specific setup, you may also need additional tools like a wrench or plumbing snake.
How can I ensure my vanity is level during installation?
To ensure your vanity is level, use a spirit level to check both the horizontal and vertical alignment. Adjust the vanity by adding shims underneath as necessary until it is perfectly level.
What type of sealant should I use for waterproofing my vanity?
It is recommended to use a silicone sealant for waterproofing your vanity, as it is flexible, durable, and resistant to mould and mildew. Make sure to choose a high-quality, waterproof option.
What are some common mistakes to avoid during vanity installation?
Common mistakes to avoid include not measuring accurately, neglecting to level the vanity, applying too much or too little sealant, and failing to secure plumbing connections properly.
How can I make the installation process smoother?
To ensure a smooth installation process, carefully plan and measure beforehand, gather all necessary tools and materials, take your time to double-check alignments, and follow the manufacturer’s instructions closely.