At Bathroom Fitters Stoke on Trent, we specialise in the meticulous installation of new fixtures to enhance both the functionality and aesthetics of your bathroom. Our skilled team understands that the right fixtures can transform a space, which is why we offer a wide range of options, including taps, showerheads, sinks, and toilets. Each installation is tailored to meet your specific requirements, ensuring that the new fixtures not only complement your existing decor but also provide a seamless and efficient operation. With our commitment to quality craftsmanship and attention to detail, we ensure that every installation is carried out to the highest standards, leaving you with a bathroom that is both stylish and practical.
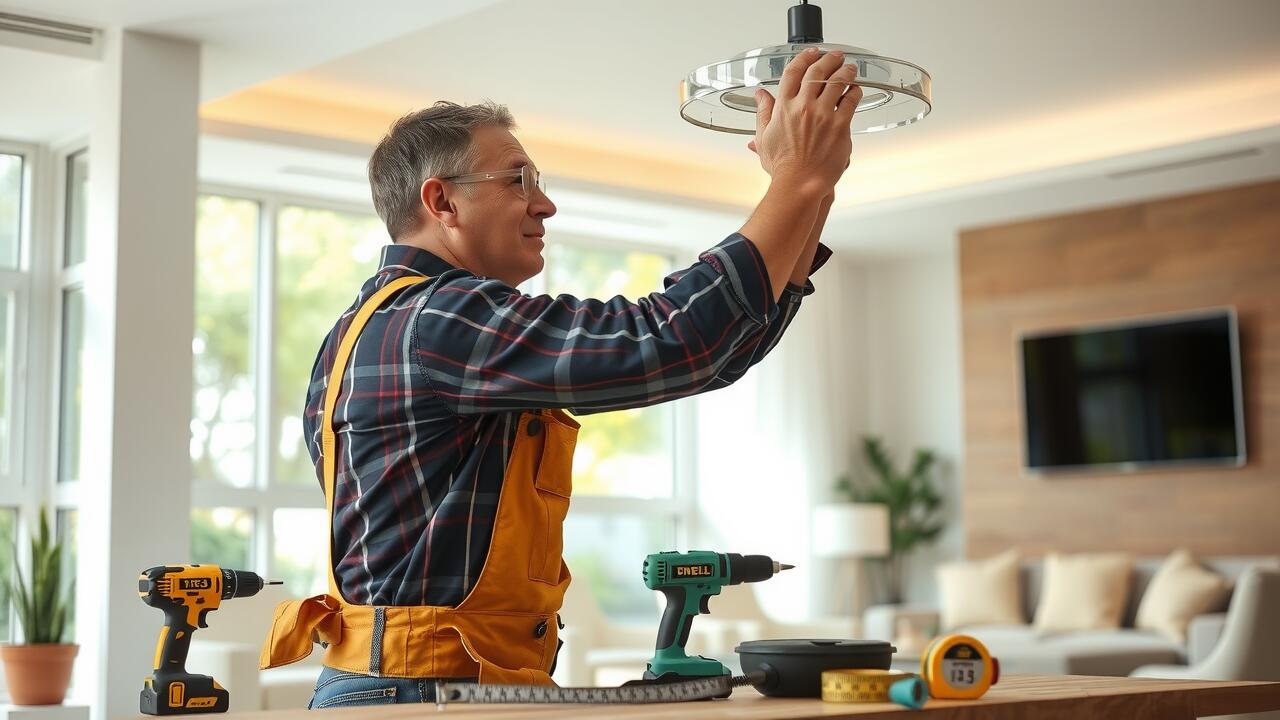
Installing the New Fixture
Begin by gathering the essential tools and materials needed for the installation. Ensure that you have a screwdriver, wire connectors, and a voltage tester on hand. Before starting, switch off the power at the breaker box to guarantee safety while working with electrical fixtures. Carefully remove the existing fixture from the junction box, noting how the wires are connected. This will serve as a guide for wiring your new light fitting. If there are any issues with the wiring or structural integrity of the junction box, it is wise to consult an electrician.
Next, prepare the new light fixture for installation. Most fixtures will have a crossbar that you need to secure into the junction box using screws. Align the wiring according to the colour codes: typically, black or red wires indicate live connections, while white represents neutral. Ensure that the ground wire, usually either green or bare copper, is securely connected as well. Once the wires are connected using wire nuts, attach the fixture to the crossbar and double-check for stability. Use a screwdriver to tighten any necessary screws, ensuring that the fixture can support its weight. A ladder may be required for higher placements, so ensure it is firmly positioned for safety during this process.
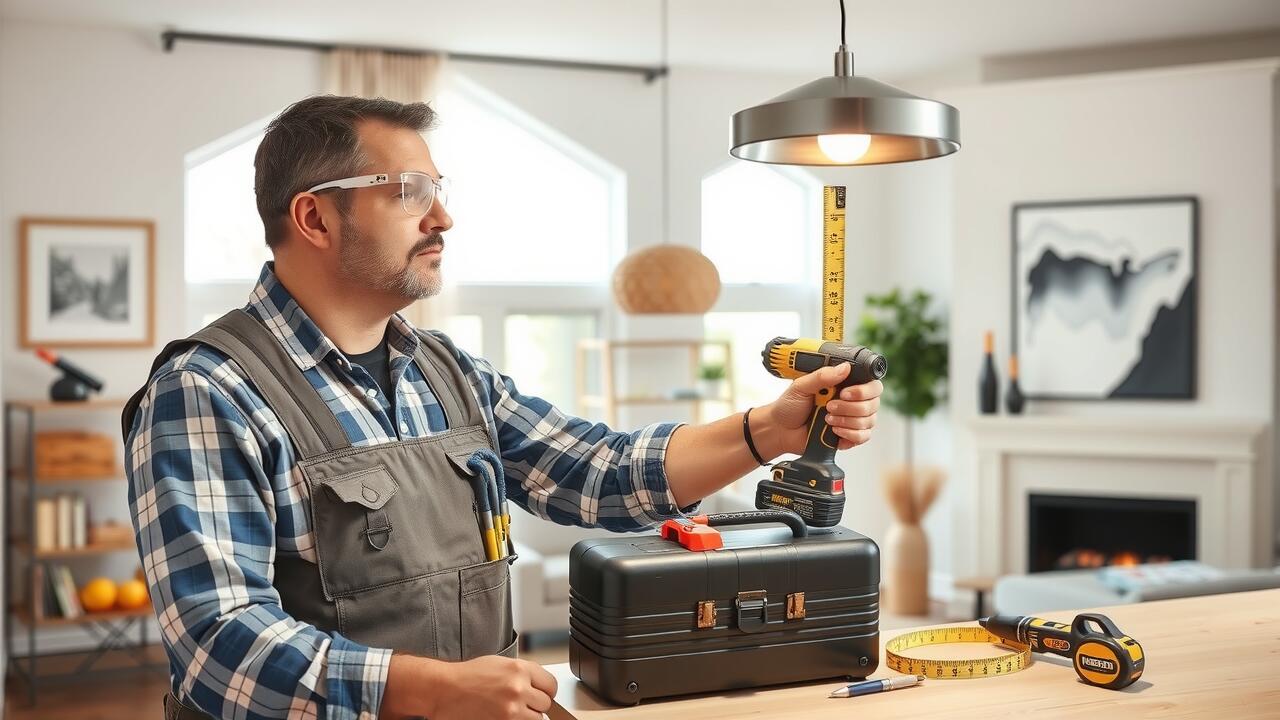
Step-by-Step Installation Process
Before beginning the installation of new fixtures, clear the work area of any dust and debris. For safety, turn off the power at the breaker box to eliminate the risk of electrical shocks. Gather your tools, including wire cutters, a wire stripper, and a selection of fasteners like nuts, bolts, and locknuts. If you’re working with ceiling lights, pay careful attention to the electrical wiring. Ensure that you identify the neutral wire correctly, which is crucial for proper functionality. If you're installing downlights or pendants, check the joist spacing in the ceiling for secure mounting.
When ready to proceed, follow the manufacturer's instructions closely. For ceiling fixtures, start by securing the ceiling rose before attaching the fixture itself. In situations involving electrical outlets or switches, remember to connect the wires according to the specified wattage requirements. It’s essential to double-check all connections for tightness. After installation is complete, restore power and test each fixture. Observe how well they function and monitor the brightness levels to ensure a satisfactory user experience. Proper management of these steps increases confidence in the installation process and enhances safety.
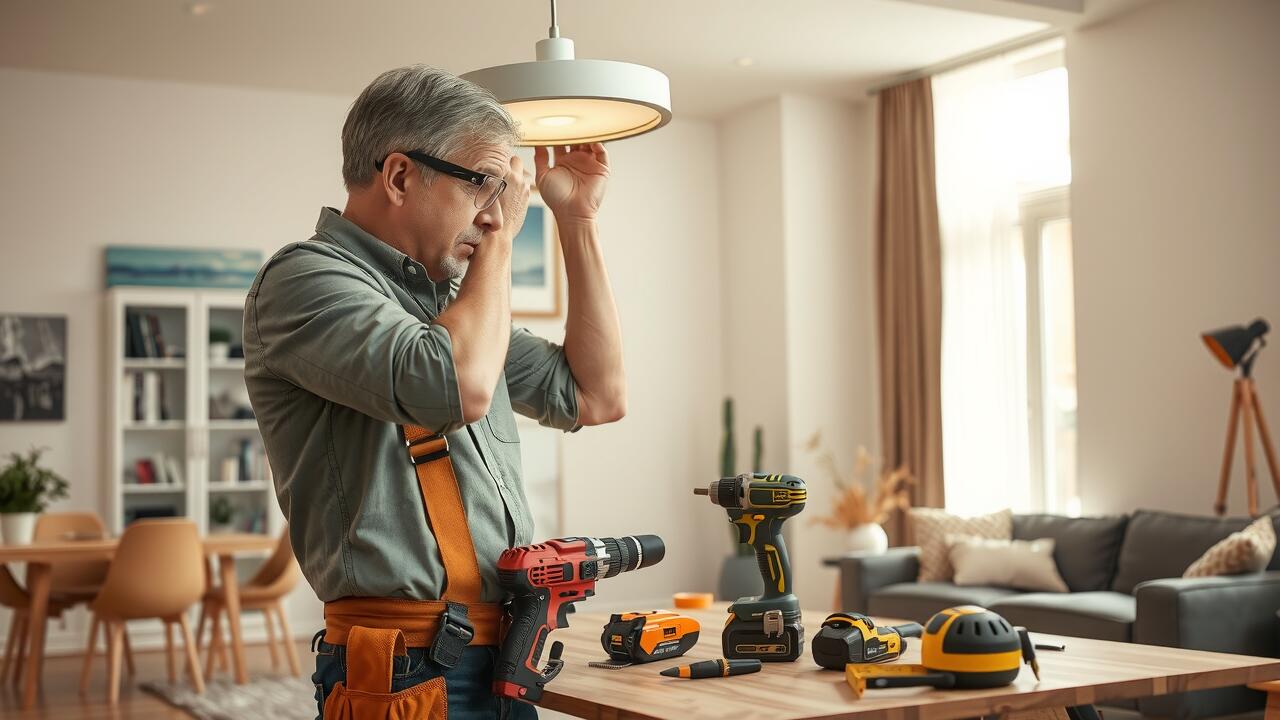
Testing the Installation
After the installation of your new fixture, it is essential to conduct thorough testing to ensure everything functions correctly. Begin by checking that the power is off at the circuit breaker panel before proceeding to inspect the connections. Look for any loose wiring, which can lead to electrical faults. Use the appropriate tools to secure connections, avoiding any aluminium wiring issues if applicable. Once you’re satisfied with the connections and safety measures, turn the power back on and observe the fixture in operation.
Pay close attention to any unusual behaviour as you test the fixture. Flickering lights or inconsistent performance may indicate deeper electrical safety concerns that need addressing. Ensure that all components, especially those connected to mains power, comply with current regulations. This will not only help in maximising the longevity of your new installation but also enhance safety within your home. Address any defects promptly and consider consulting a qualified tradesperson if complications arise during testing.
How to Ensure Proper Functionality
Ensuring proper functionality of newly installed fixtures is essential for both safety and efficiency. Begin by verifying the power supply first. Use a non-contact voltage detector to check that mains power is safely connected. This tool provides peace of mind when confirming that the electricity is flowing correctly without the need for direct contact. Once you have confirmed power at the consumer unit, inspect the wiring connections. Properly connect neutral wires and ground to their respective terminals and make sure all connections are secured using wire nuts and machine screws.
After confirming that the fixtures are wired properly, test each installation by turning on the corresponding light switches. If you are using dimmer switches or energy-efficient smart bulbs, ensure that they are compatible with the wattage specified for the fixtures. Pay close attention to any unusual behaviour, such as flickering lights or inconsistent illumination, as these could indicate underlying issues. Address any problems promptly, as adherence to the national electrical code and building regulations is crucial for safety and compliance in every room, including bathrooms and kitchens.
Troubleshooting Common Issues
When encountering issues with newly installed fixtures, the first step is to assess visible connections. Check all electrical sockets for proper insertion of plugs and ensure that no wires are loose or damaged. Tighten any bolts or connections that might have come undone during installation. Inspect the bulbs, particularly LED bulbs, as these can sometimes fail upon initial use. If track lighting or pendant lights are not illuminating, ensure that the circuit breaker in the electrical panel has not tripped and that the fixtures are receiving power.
If your smart lighting system is unresponsive, confirm that the internet connection is stable and that the system’s app is functioning correctly. A common mistake involves overlooking the password reset for smart devices. For issues related to dimming or flickering lights, grounding checks may be necessary to eliminate electrical hazards. If problems persist, it may be beneficial to consult troubleshooting guides specific to the fixtures in question or seek professional assistance to ensure adherence to electrical code regulations.
Tips for Diagnosing and Fixing Problems
When faced with issues during or after the installation of new fixtures, it's essential to perform a thorough inspection of both the hardware and surrounding areas. Check for visible damages to the materials used, such as floorboards or plumbing components. Ensure that all fasteners are securely tightened and that electrical systems are correctly connected, paying particular attention to ground wires. If a fixture is not functioning as intended, refer to the manufacturer’s specifications to confirm proper installation methods and requirements.
If problems persist, utilise common sense in diagnosing potential risks. For example, a flickering light might indicate an issue with the electrical current or circuitry. Inspect connections at plug sockets to rule out any faults. In cases of water leaks, investigate the plumbing connections and ensure threaded pipes are properly sealed. Maintaining due diligence during repairs will enhance the usability and safety of your renovations, helping to prevent more significant issues down the line.
FAQS
What tools do I need for installing new fixtures?
The tools required for installing new fixtures typically include a screwdriver, a wrench, pliers, a drill, and possibly a level. It's also helpful to have a measuring tape and wire strippers if electrical work is involved.
How long does it usually take to install a new fixture?
The time it takes to install a new fixture can vary depending on the complexity of the installation and the type of fixture. Generally, simple installations can take 30 minutes to an hour, while more complex fixtures may take several hours.
What steps should I follow to ensure my installation is safe?
To ensure your installation is safe, always turn off the power at the circuit breaker before starting any electrical work. Follow the manufacturer's instructions carefully, use the proper tools, and double-check all connections for security.
How can I test if my new fixture is functioning properly?
You can test the new fixture by turning the power back on (after installation) and checking for any flickering or unusual behaviour. It’s also a good idea to observe the fixture over time to ensure consistent performance.
What should I do if my new fixture is not working?
If your new fixture is not working, first check that the power is on and that the fixture is properly connected. If issues persist, consult the troubleshooting section of the manufacturer's manual, or consider seeking help from a qualified electrician.