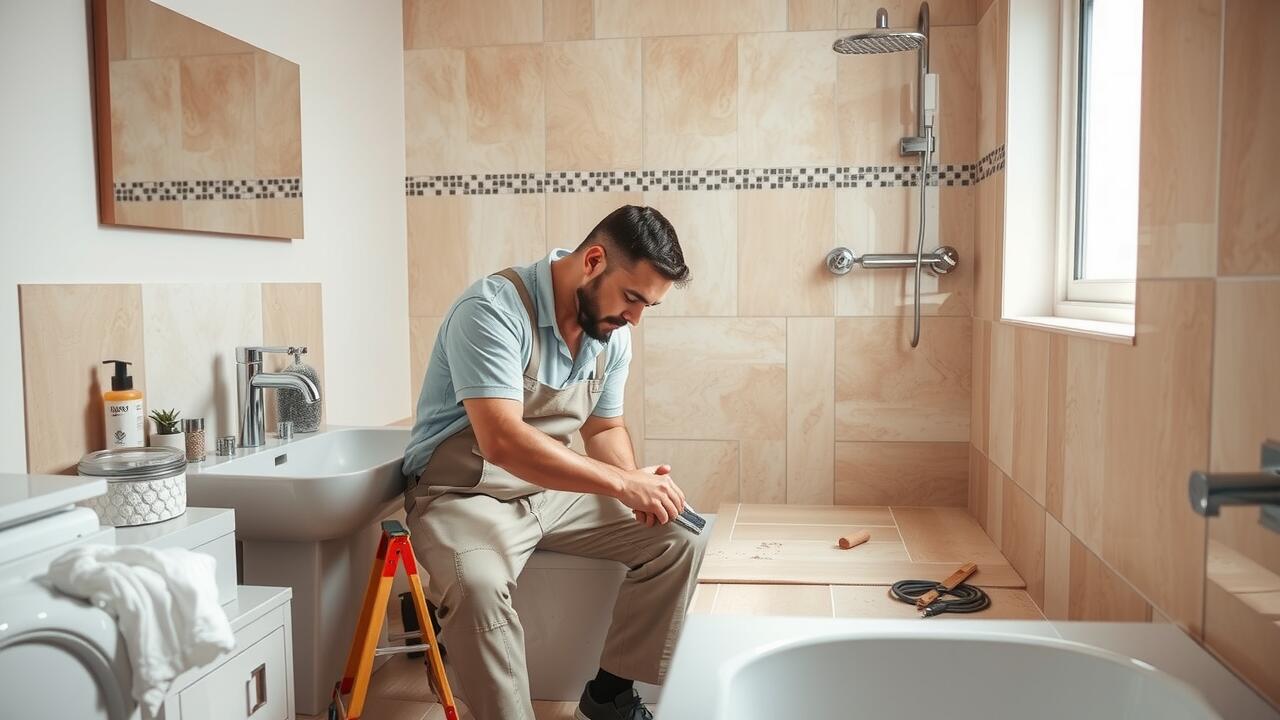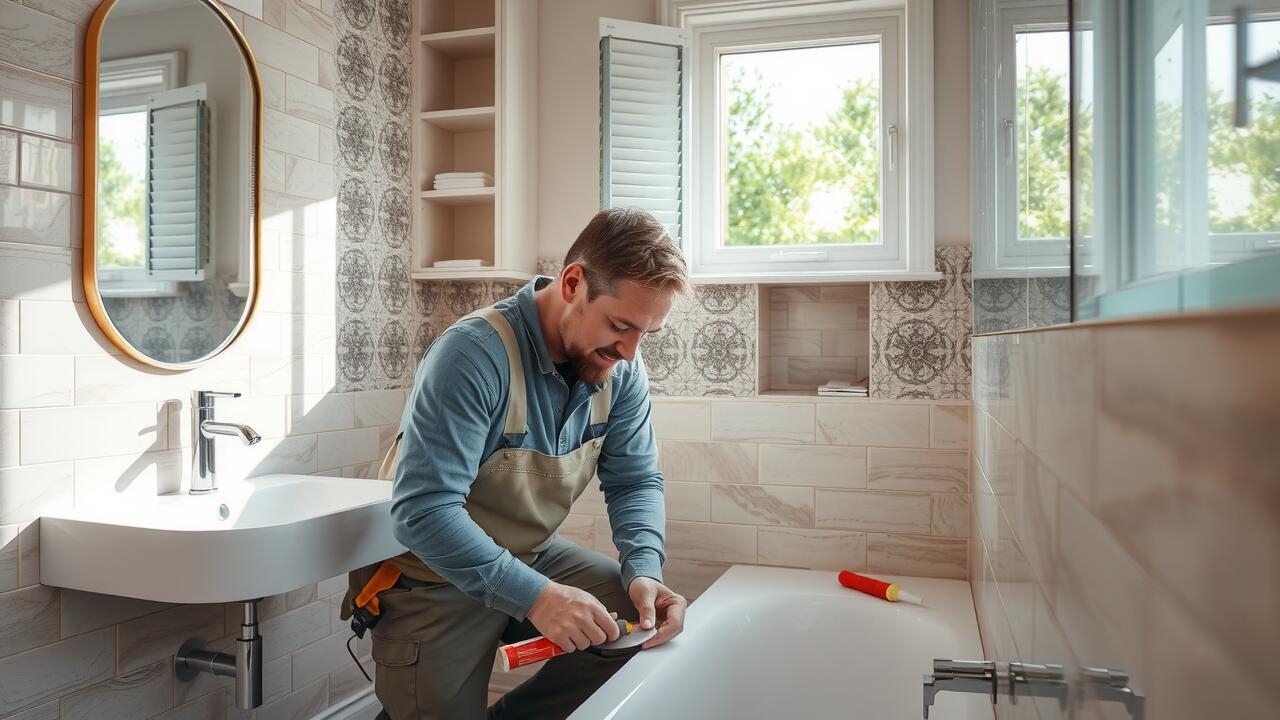
Laying the First Tile
The foundation for successful wall tiling begins with the careful placement of the first tile. It is essential to select a starting point that will allow for a balanced and aesthetically pleasing layout. Many professionals favour starting from the centre of the wall but depending on the space, beginning at an edge may be more suitable. Use a spirit level to draw a vertical line as a guide. This ensures that the tile will be straight and sets a reference for the next tiles to ensure uniformity.
Once the starting point is determined, spread adhesive on the wall. Apply it evenly using a notched trowel, which helps create grooves for a better bond. Press the first tile into the adhesive firmly. Ensure it aligns with the vertical guide. For those engaged in wall tiling in Stoke-on-Trent, monitoring the level of each tile as it is placed can save significant time later. Adjustments may be needed to maintain an even surface throughout the entire tiling process. Following this method lays a solid groundwork for the rows that will follow.
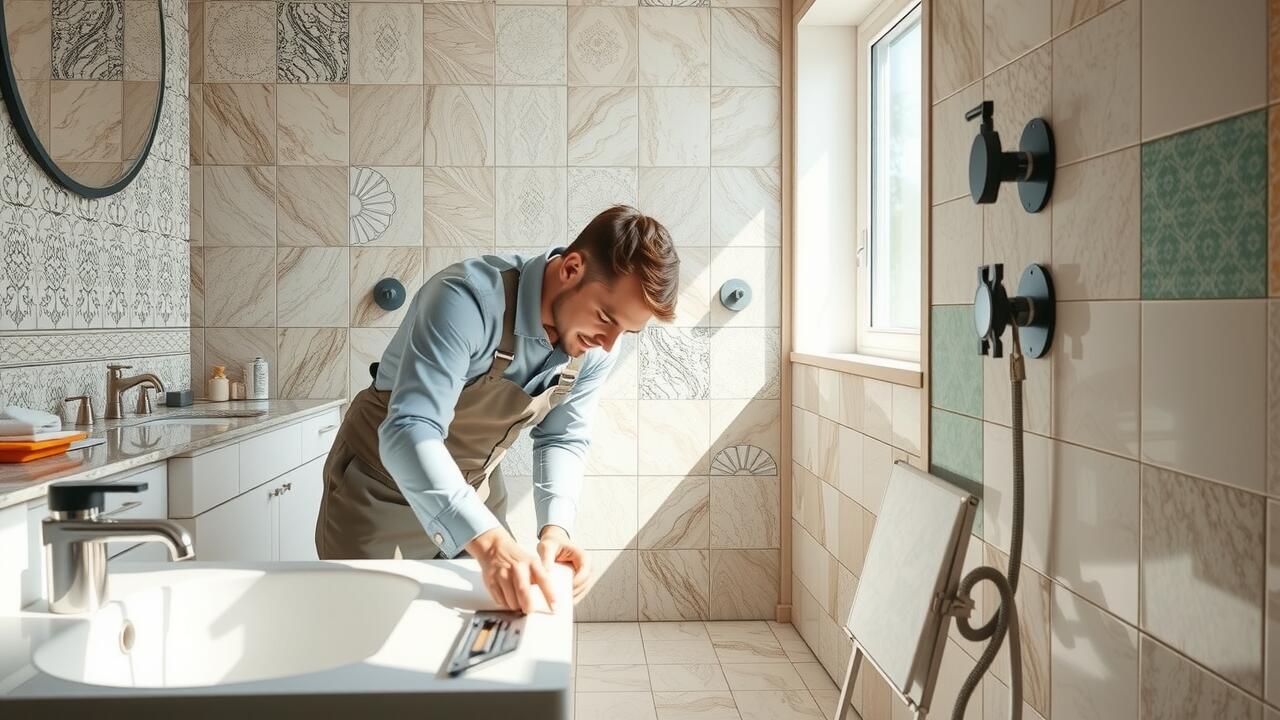
Techniques for Accurate Placement
Achieving accurate tile placement is essential for a professional finish. Start by establishing a reference line along the bottom of the wall, typically using a level to ensure it is perfectly straight. This line serves as the foundation for the first row of tiles. If you're tiling in an area like Wall tiling in Stoke-on-Trent, consider the effects of natural light and the layout of the room, as these can influence the visual balance of the tiled surface.
When placing the tiles, apply adhesive evenly using a notched trowel, which helps create a strong bond. Position the first tile firmly against the reference line and press it into the adhesive. Use spacers between tiles to maintain uniform gaps. Regularly check the alignment of each tile as you progress, making adjustments as necessary. This meticulous approach will ensure that the final result not only looks attractive but also maintains durability over time.
Tiling Around Obstacles
Tiling around obstacles requires careful planning and precise execution to ensure a seamless finish. Measure the distance between the tiles and any fixtures such as windows or electrical outlets. Mark these measurements clearly on the wall. In this process, maintaining consistent spacing is essential to avoid uneven gaps. Use spacers to help keep the alignment correct, especially when working near corners or other fixtures.
When it comes to cutting tiles to fit around obstacles, selecting the right tools is vital for achieving clean edges. A tile cutting machine or a wet saw can provide the precision needed for this task. Wall tiling in Stoke-on-Trent often involves navigating various architectural features, so it's beneficial to practice cutting on spare tiles. This can help reduce waste and ensure that the final result meets your expectations.
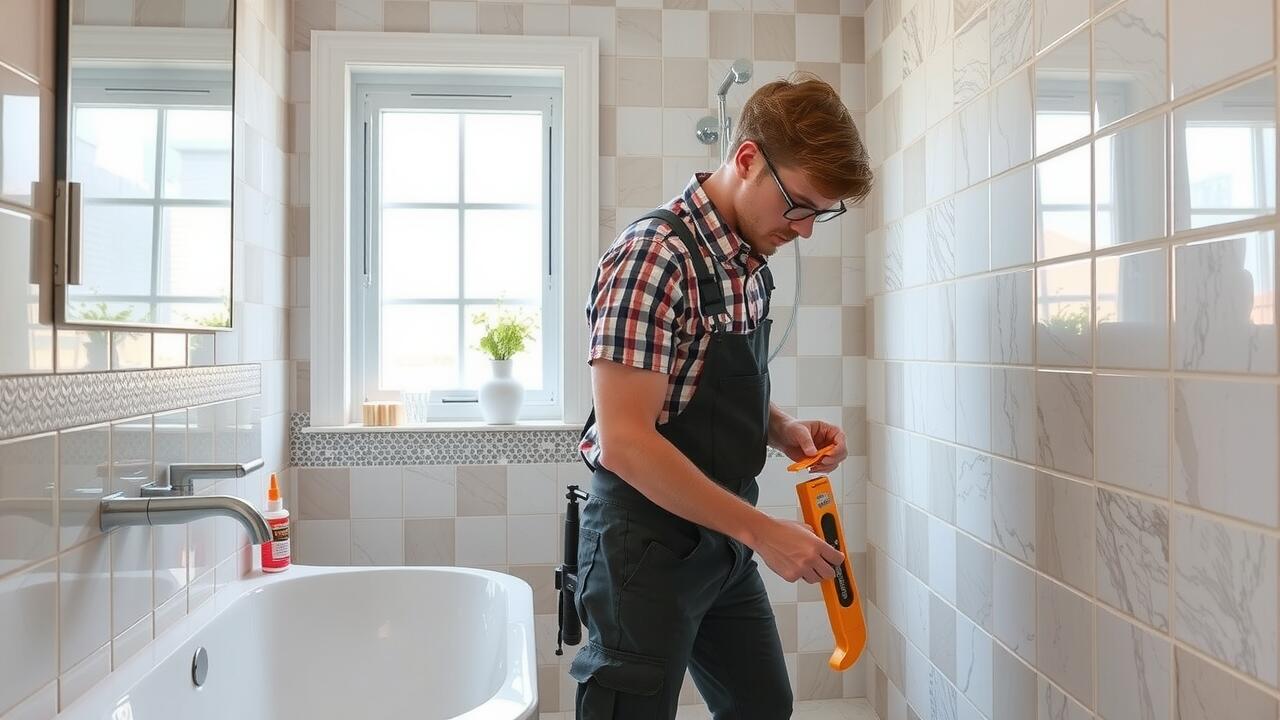
Handling Windows and Electrical Outlets
When tackling wall tiling in Stoke-on-Trent, special attention is required around windows and electrical outlets. Begin by measuring the space carefully and marking the positions for the tiles around these features. This ensures a precise layout and helps to avoid misalignment. Use a level to check that the tiles will sit evenly above and below windows to maintain a clean and professional appearance.
For electrical outlets, it is essential to switch off the power supply to ensure safety. Carefully mark the location of the outlet on the tile and use a tile cutter or a drill to create the necessary openings. Always double-check measurements to minimise the likelihood of errors. When fitting tiles around these obstacles, a consistent grout line should be maintained for an aesthetically pleasing finish.
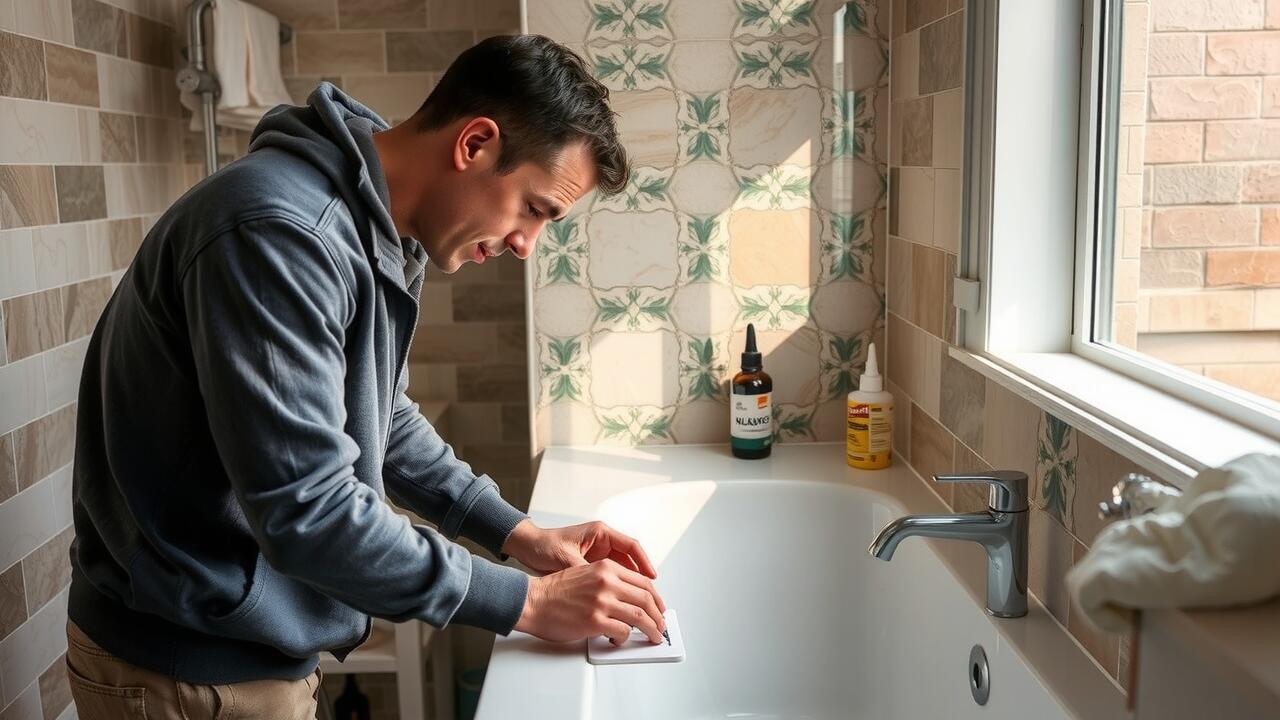
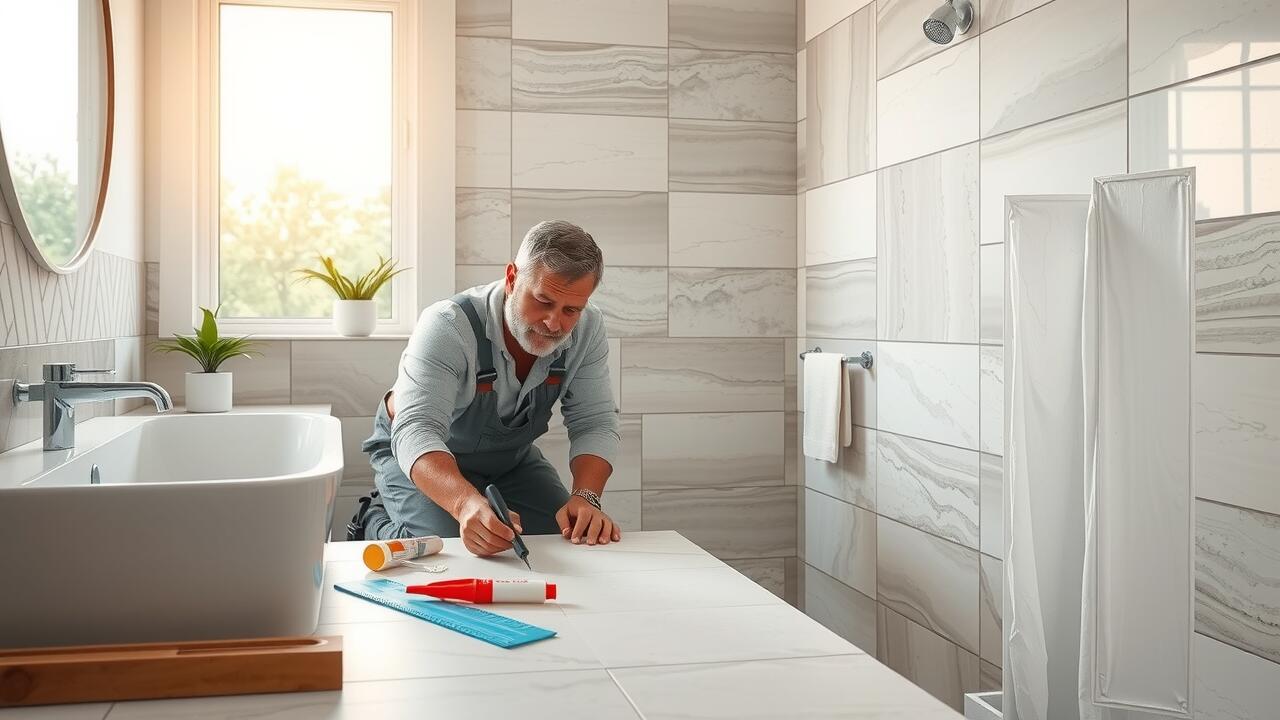
Cutting Tiles for Edges and Corners
When cutting tiles for edges and corners, precision is crucial to achieving a professional finish. Using a tile cutter or a wet saw can provide clean, straight cuts needed to fit tiles snugly against the wall or around fixtures. When measuring, ensure that you account for the grout lines, as these will affect the overall layout. It's often helpful to make templates from cardboard for complex cuts, allowing you to trace the desired shape directly onto the tile.
In areas such as Stoke-on-Trent, where wall tiling has become a popular home improvement project, knowing how to handle these cuts is essential. For corners, make a 45-degree angle cut on two tiles to create a seamless joint. Additionally, you might encounter uneven surfaces that require custom shapes; using a tile nipper can assist in trimming tiles to the right dimensions. Always test fit the cuts before adhering to the wall to ensure an accurate fit and avoid unnecessary waste.
Tools and Techniques for Precision Cuts
Precision cuts are essential for achieving a professional finish when tiling edges and corners. A high-quality tile cutter provides clean, straight cuts, making it easier to fit tiles snugly into challenging spaces. For intricate designs or irregular shapes, a wet saw is preferable. This tool uses water to cool the blade, reducing the risk of chipping tiles during the cutting process. Additionally, a tile nipper can help shape smaller sections of tile, ensuring that even the most detailed cuts are executed flawlessly.
When tackling wall tiling in Stoke-on-Trent, having the right tools on hand will significantly impact the outcome of your project. A measuring tape and a level are indispensable for marking accurate cuts and installations. Marking the tile with a pencil before cutting will help guide the saw or cutter. Always double-check measurements, as precise cuts lead to a better fit and a more aesthetically pleasing finish on the wall. Using these tools and techniques will aid in achieving a visually appealing and professional-looking tile installation.
FAQS
What is the first step in tiling a wall?
The first step in tiling a wall is to prepare the surface by ensuring it is clean, dry, and level. You should then use a level or chalk line to mark a straight guideline for laying the first tile.
How can I ensure my tiles are placed accurately?
To ensure accurate tile placement, use spacers between tiles for even spacing, and apply thin-set adhesive evenly. Additionally, check alignment frequently with a level and adjust as necessary.
What should I do when I encounter obstacles like windows or electrical outlets?
When tiling around obstacles, such as windows and electrical outlets, measure carefully and make precise cuts to fit the tiles around these areas. It may be helpful to use a template or mark directly on the tiles for accuracy.
What tools do I need for cutting tiles?
Essential tools for cutting tiles include a tile cutter or wet saw, a scoring tool, a measuring tape, and a pencil for marking. Additionally, safety goggles and gloves are recommended for protection.
Can I tile over existing tiles, or should I remove them first?
While it is possible to tile over existing tiles if they are in good condition, it is generally recommended to remove them for the best results. This ensures a level surface and proper adhesion for the new tiles.