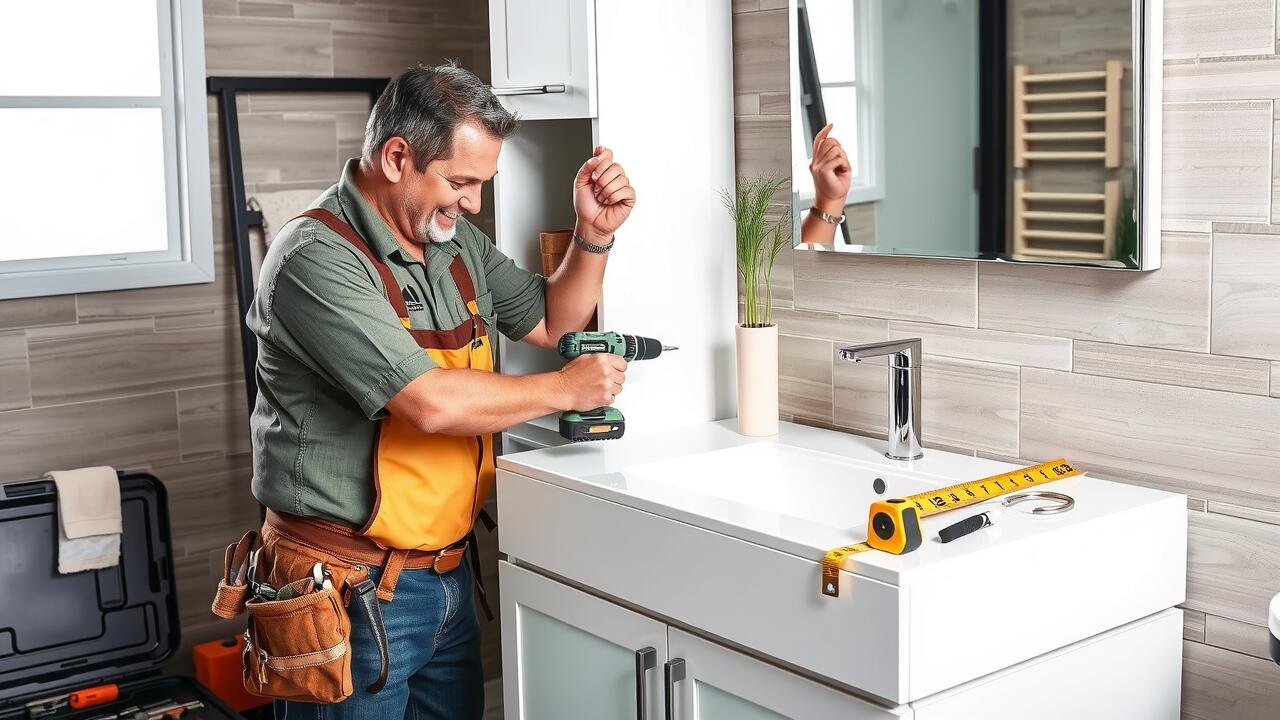
Installing the New Vanity
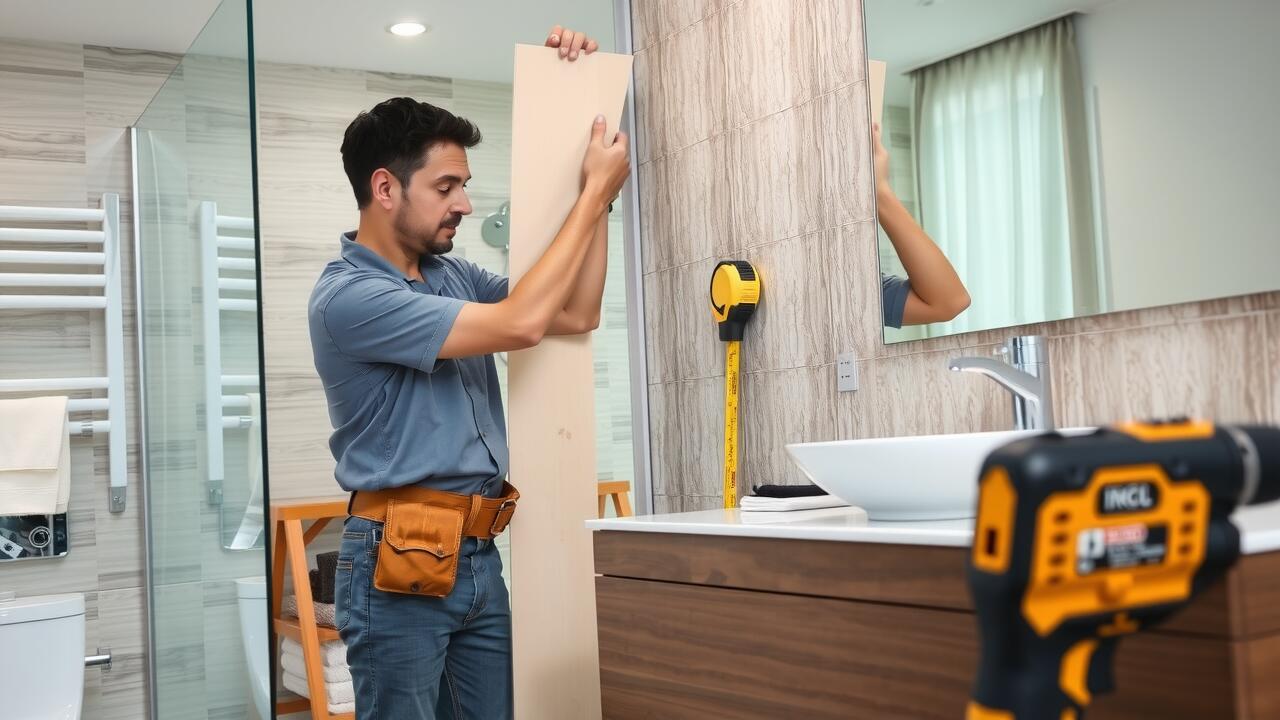
When preparing for the vanity installation in Abbey Hulton, Stoke-on-Trent, it is essential to gather all necessary tools and materials beforehand. This may include a level, a stud finder, a drill, and the appropriate mounting hardware. Clearing the installation space of any existing fixtures or debris will provide a clean slate for the new vanity. Measuring the area accurately ensures that the vanity fits snugly without any issues.
Once the area is prepped, position the vanity against the wall to check for level and alignment. Making adjustments as needed will guarantee a proper fit. It is advisable to mark the wall and the vanity's position to ensure that it remains in place during the installation process. Securing the vanity in place will avoid any movement over time, ultimately providing a stable and functional addition to the bathroom.
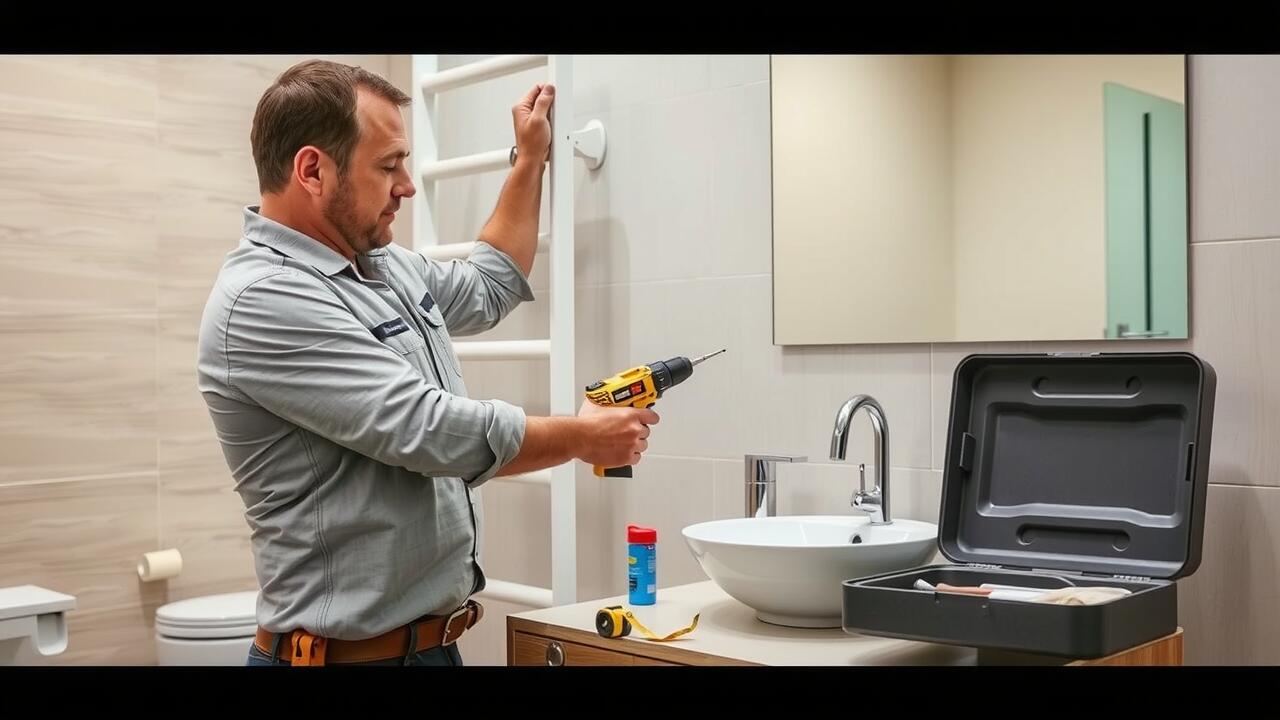
Step-by-Step Installation Guide
Before beginning the installation, gather all the necessary tools and materials. This includes a level, drill, screws, and any required plumbing components. Begin by measuring the space where the new vanity will be placed. Accurate measurements ensure that the vanity will fit snugly and align with existing plumbing fixtures. Consider the height and width of both the vanity and any countertop options, taking into account the surrounding décor.
Next, prepare the area by removing the old vanity, if applicable. Shut off the water supply to the bathroom and disconnect any plumbing fixtures. If you are performing vanity installation in Abbey Hulton, Stoke-on-Trent, check for any local guidelines or regulations related to plumbing. Once the area is clear, position the new vanity in place. Use a level to ensure it is straight, adjusting as needed before securing it to the wall. Fix the vanity in place with screws, ensuring it is firmly anchored for stability.
Connecting Plumbing Fixtures
Properly connecting plumbing fixtures is crucial during the installation of your new vanity. Begin by ensuring all necessary tools and materials are at hand, including pipe wrenches, adjustable spanners, and plumber's tape. Carefully align the water supply lines with the fixture connections, making sure to tighten them securely without over-torquing. Double-check the hot and cold lines to avoid any mix-ups. Vanity installation in Abbey Hulton, Stoke-on-Trent, often requires adhering to local plumbing codes, so it's wise to consult them beforehand.
Once the water supply is connected, focus on the drainage system. Position the sink drain into the existing waste pipe and secure it using a slip nut. It's essential to ensure all seals are watertight to prevent leaks. After fitting the drain, you may need to adjust the P-trap to accommodate the new sink layout. Testing your connections for leaks after installation is an important step, allowing you to address any issues promptly before using the vanity.
Ensuring Proper Water Connections
Before connecting your water fixtures during the vanity installation in Abbey Hulton, Stoke-on-Trent, ensure that the existing plumbing is compatible with your new setup. Assess the supply lines for hot and cold water, making sure they are in good condition and leak-free. If you find any irregularities, it may be necessary to replace damaged sections or invest in adapter fittings to accommodate your new vanity.
Once the plumbing is confirmed, proceed to connect the supply lines to the vanity’s water inlet. Always use appropriate sealant tape on threaded connections to prevent leaks. After securing the connections, turn the water supply back on and closely monitor for any signs of leakage. It's essential to check both connections before completing the installation to ensure a reliable water flow without issues.
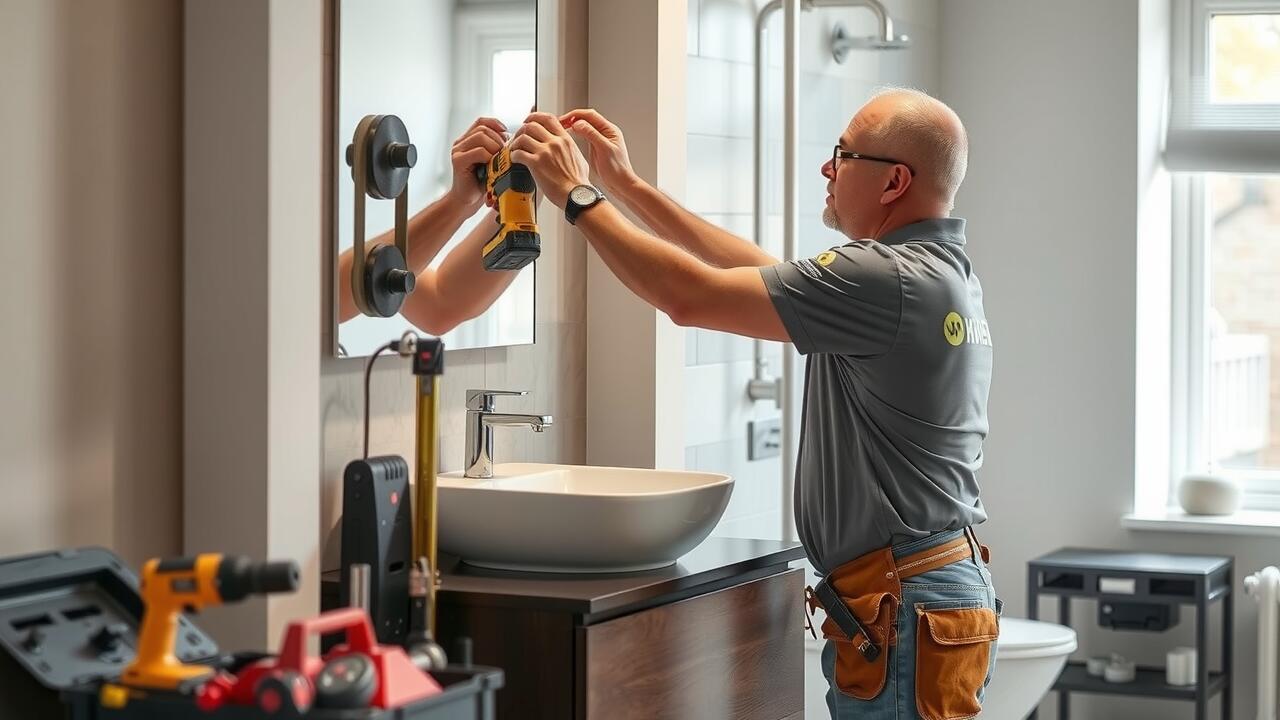
Securing the Vanity to the Wall
Securing the vanity to the wall is a crucial step in ensuring its stability and longevity. Begin by locating the wall studs behind the drywall. Using a stud finder makes this task easier. Once the studs are identified, align the vanity against the wall and mark the appropriate height. Drilling pilot holes into the studs allows for a sturdy anchor for the vanity. Employ wall brackets or angle brackets for added reinforcement, ensuring that the vanity can withstand everyday use without shifting or tipping.
In the context of vanity installation in Abbey Hulton, Stoke-on-Trent, it is advisable to take extra care with the securing process, especially in areas where the wall may not be perfectly level. Adjustments might be necessary to achieve the desired fit. Using shims can aid in achieving a level installation. After securing the brackets to the studs, it is good practice to double-check the alignment of the vanity before fully tightening the screws. This attention to detail guarantees a professional finish and enhances the overall functionality of the bathroom.
Techniques for Stability
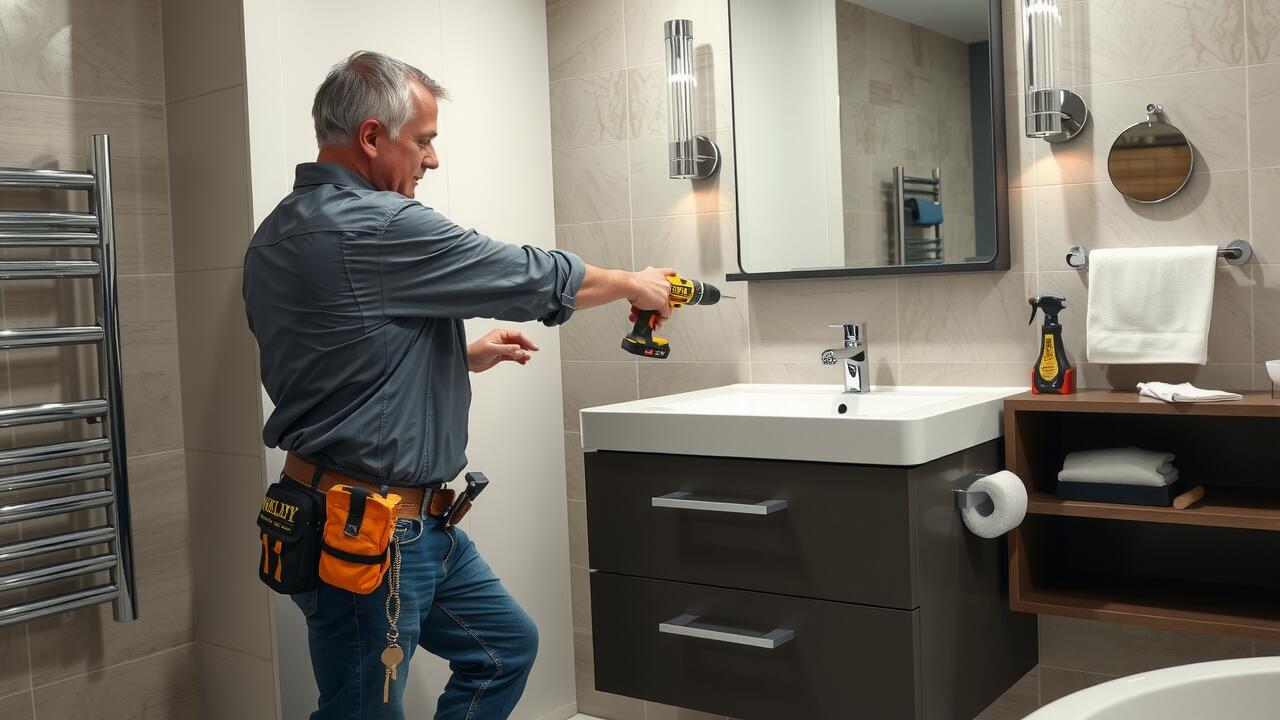
To ensure the stability of your vanity, it is essential to anchor it securely to the wall. Using wall studs is the most effective method for achieving this. Locate the studs behind the wall using a stud finder and mark their positions. For added support, consider using L-brackets or brackets specifically designed for vanity installation. These components will help distribute the weight evenly and minimise the risk of tipping.
In addition to wall anchoring, the floor will play a crucial role in maintaining the vanity's stability. Placing a level beneath the vanity can identify any unevenness in the flooring. If necessary, adjust the legs of the vanity or use shims to achieve a perfectly level surface. This thorough approach will ensure that your vanity remains securely in place, giving you peace of mind for your project, especially for vanity installation in Abbey Hulton, Stoke-on-Trent.
FAQS
Can I install my own vanity without professional help?
Yes, you can install your own vanity if you have basic DIY skills and the right tools. The process involves following a step-by-step guide and ensuring you understand plumbing and stability requirements.
What tools do I need to install a vanity?
Typical tools required for vanity installation include a level, tape measure, drill, screwdriver, wrench, and a caulking gun. Depending on your specific vanity, additional tools may be needed.
How do I connect the plumbing fixtures to my new vanity?
To connect plumbing fixtures, first, ensure the water supply is turned off. Then, connect the sink’s drain and supply lines to the existing plumbing. It’s important to follow the manufacturer’s instructions for your specific fixtures.
How do I secure the vanity to the wall?
Securing the vanity to the wall can be done using brackets or screws. Make sure to locate the wall studs for a stable attachment. This helps prevent tipping and keeps the vanity securely in place.
What should I do if I encounter plumbing issues during installation?
If you encounter plumbing issues, it's best to consult a professional plumber. They can address leaks or complicated connections that may arise during the installation process.