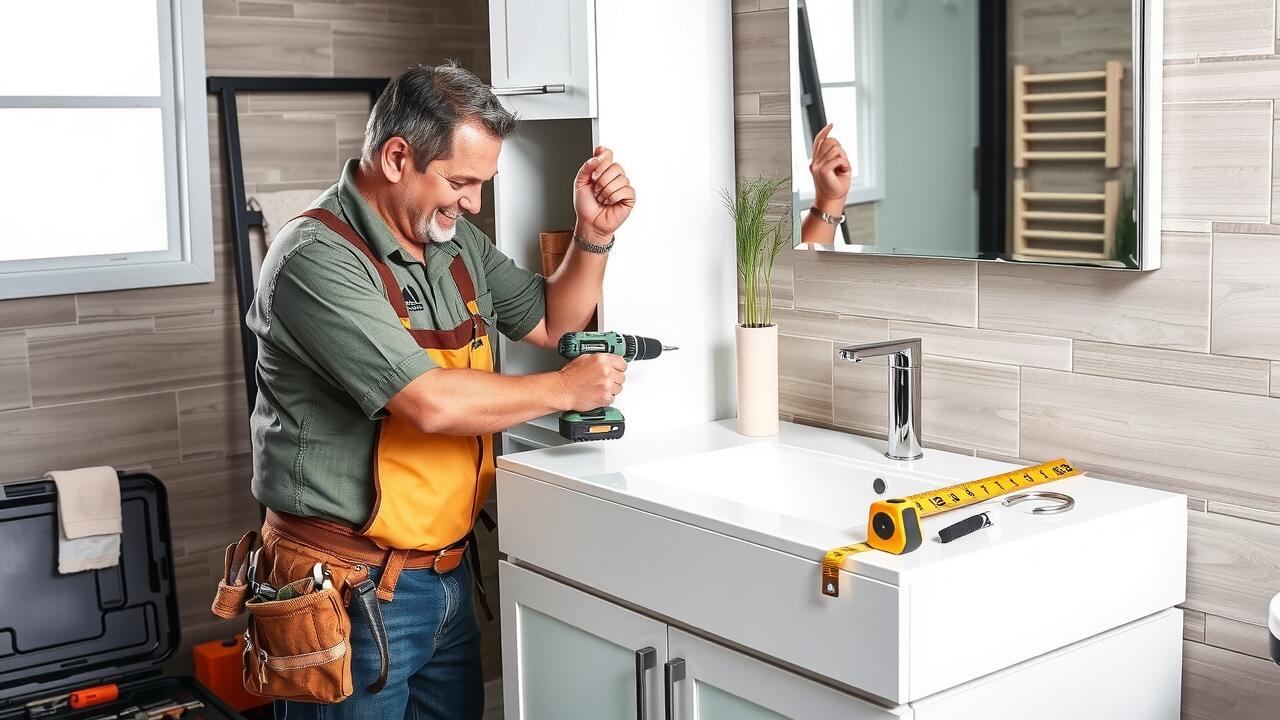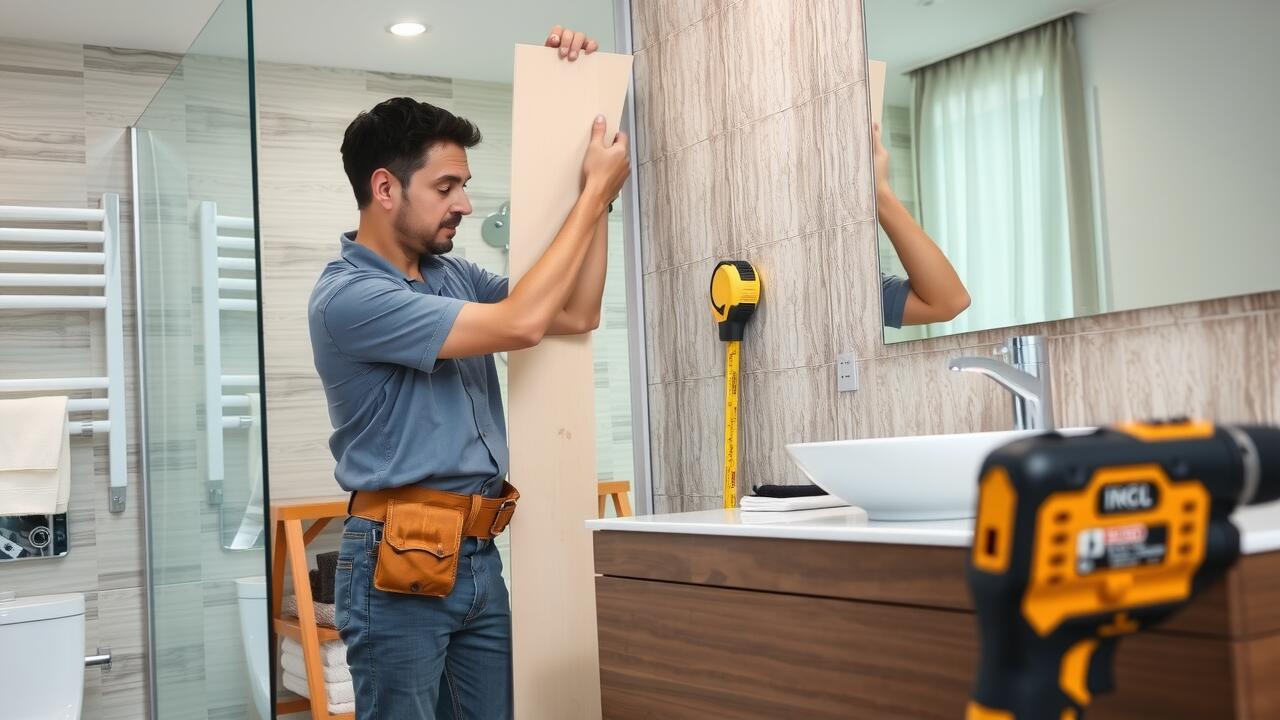
Creating Pilot Holes
Creating pilot holes is an essential step in the successful installation of a vanity unit. This process begins with identifying the appropriate positions for the holes, ensuring they align with the mounting brackets of the unit. Using a pencil, mark the locations where the screws will penetrate the wall. Accuracy in this measurement will ensure that the unit sits flush against the wall, providing a secure and aesthetically pleasing finish.
Once the markings are in place, the next step involves selecting the correct drill bit for the wall material. For plasterboard walls, a standard bit will suffice, whereas a masonry bit is needed for brick or concrete surfaces. When drilling, apply steady pressure without forcing the bit, as this can lead to damage. Following these guidelines will facilitate a smooth installation process, contributing to a successful Ball Green, Stoke-on-Trent vanity installation.
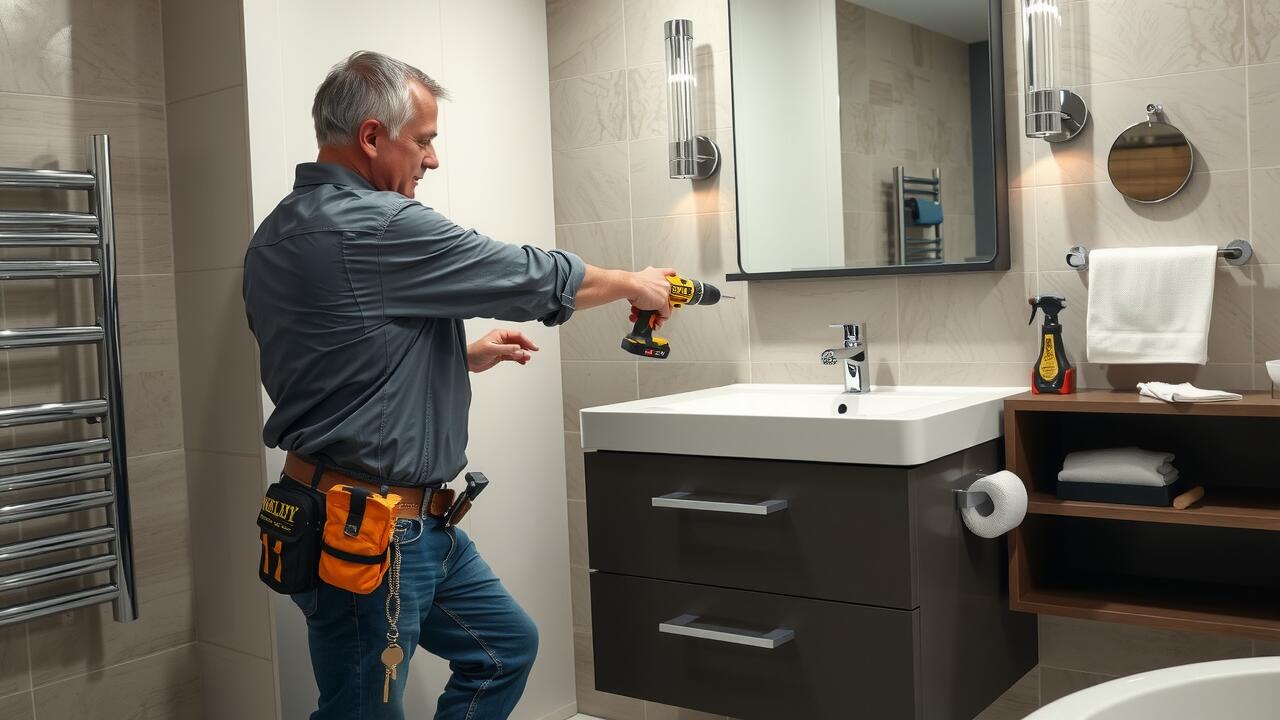
Drilling Techniques for Stability
When drilling into a wall for a vanity unit, ensuring stability is crucial for the longevity of your installation. Use a high-quality masonry bit suitable for the wall type. For instance, if you're working with a brick or concrete surface, select a carbide-tipped bit that will efficiently penetrate the material without causing undue stress. Keep the drill at a right angle to ensure an even hole. This approach reduces the risk of the unit wobbling over time.
In areas like Ball Green, Stoke-on-Trent, where properties may vary in construction, double-check the nature of your walls before drilling. If the wall is hollow or made from plasterboard, consider using wall anchors that distribute the weight evenly. Proper technique during drilling will create clean holes that facilitate secure fittings for the vanity unit. Always maintain a steady hand to avoid damaging the surrounding material.
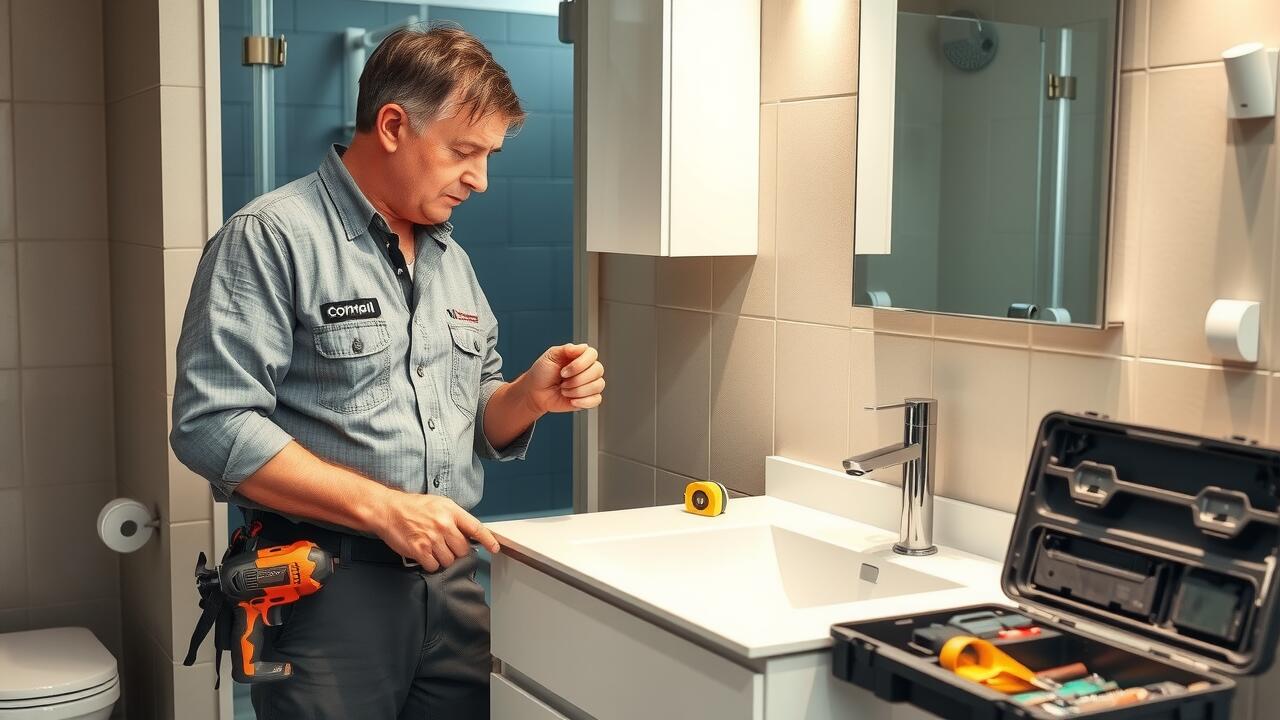
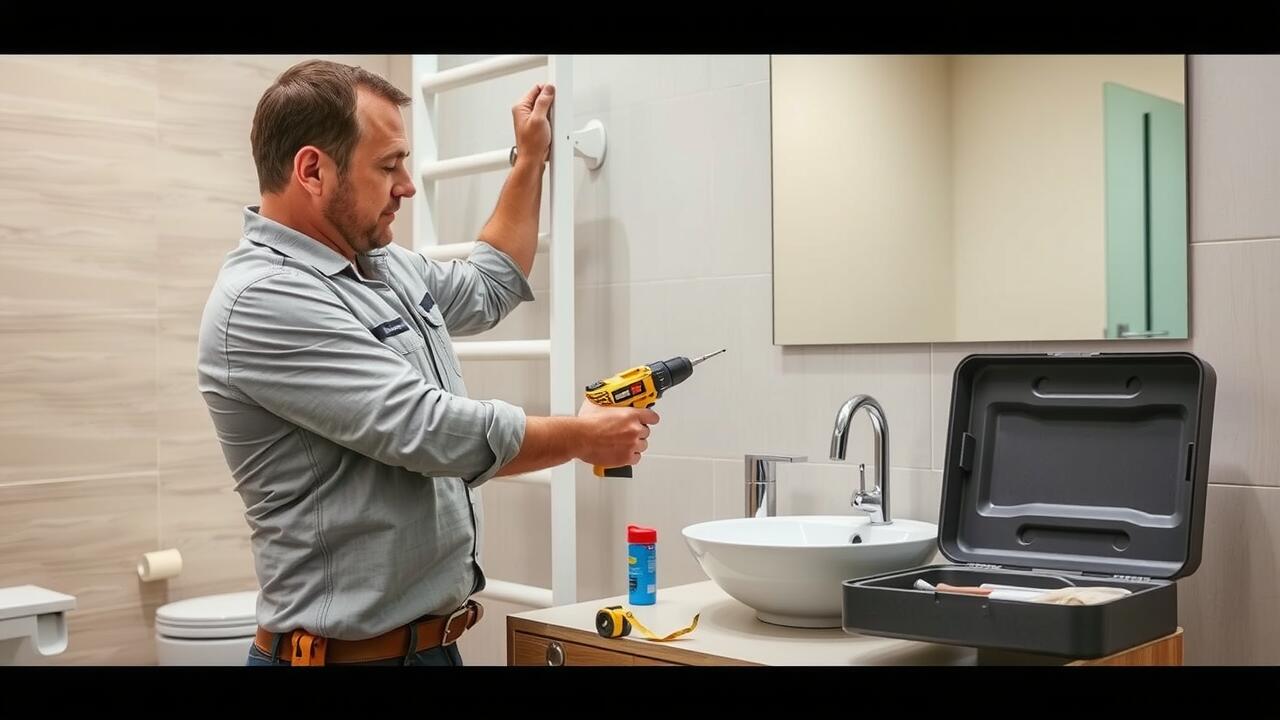
Attaching the Vanity Unit
Once you have prepared the wall and ensured the pilot holes are correctly positioned, it is time to attach the vanity unit. Begin by lifting the unit into place and aligning it with the drilled holes. The assistance of a second person can make this task easier, as it allows for more accurate positioning and stability while securing the unit. With the vanity in the right spot, insert screws through the brackets into the wall anchors, ensuring a tight fit.
When undertaking Ball Green, Stoke-on-Trent vanity installation, it is crucial to verify the unit's stability after fastening. Inspect each connection point to ensure there are no loose fixtures. Give the vanity a gentle shake to make certain it is securely attached. If any movement is detected, tighten the screws further, as this will provide the necessary support for the unit, preventing future issues.
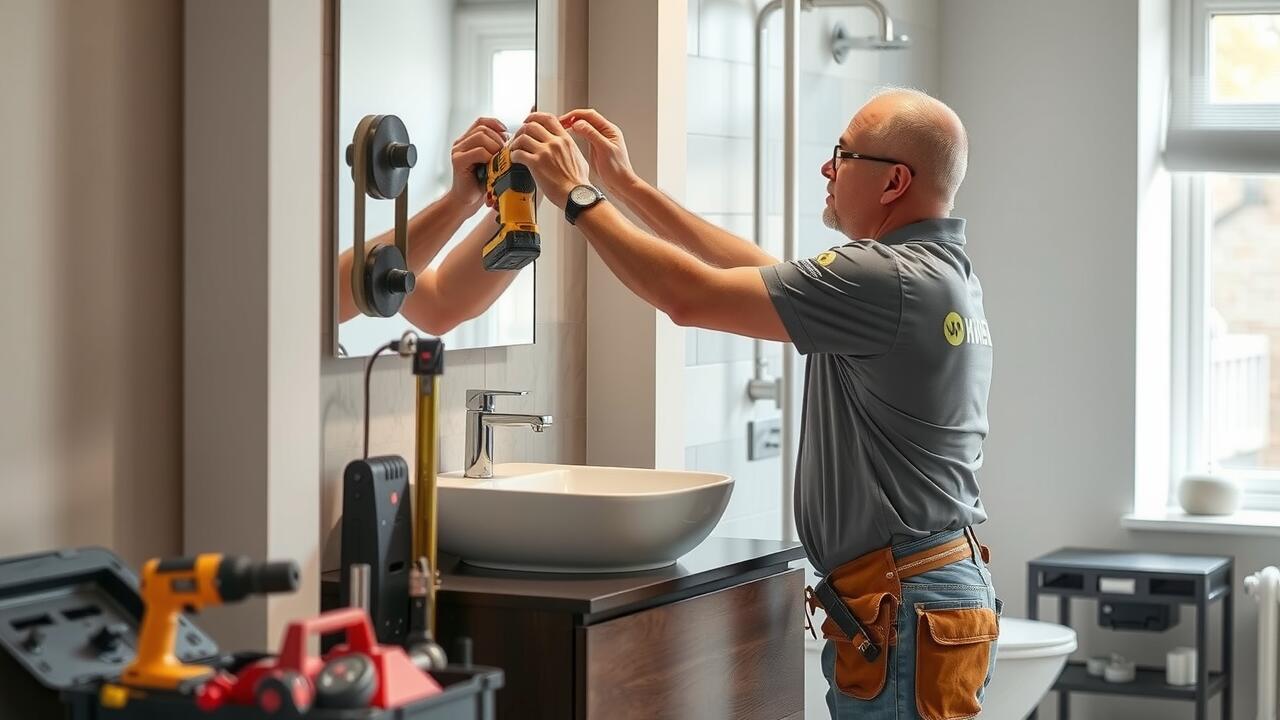
Securing with Screws and Brackets
To secure the vanity unit, first ensure that the brackets are positioned correctly on the wall and aligned with the pilot holes drilled earlier. Insert the screws through the brackets into the designated holes. A power drill can simplify this process, providing the necessary torque for a snug fit. Take care to match the size of the screws with the weight of the vanity, ensuring that they can adequately support the unit.
Once the screws are in place, it may be beneficial to use additional brackets for extra security, particularly for larger vanity units. Verify that each bracket is fastened tightly against the wall, as this will aid in stabilising the entire structure. For those undertaking Ball Green, Stoke-on-Trent vanity installation, following these steps ensures a robust installation that withstands daily use.
Leveling the Vanity
Achieving the correct level for your vanity unit is essential for both aesthetics and function. Begin by placing a spirit level on top of the unit. Adjust it until the bubble sits perfectly between the two lines. If one side is lower, insert shims beneath the base until proper alignment is reached. Ensure that the unit is stable and does not rock, as a level vanity will help prevent issues with water drainage or cabinet doors not closing properly.
Once the unit is level, check the alignment against any adjacent fixtures to ensure a seamless look. For those undertaking a Ball Green, Stoke-on-Trent vanity installation, extra care should be taken to align with surrounding elements, especially if the unit is near a sink or bathtub. Mark any necessary adjustments on the wall before securing the unit in place, as minor tweaks at this stage can save time and frustration later on.
Techniques for Perfect Alignment
Achieving perfect alignment when installing a vanity unit is crucial for both aesthetics and functionality. Start by using a level to ensure that the unit is perfectly horizontal. Adjust the vanity slightly by raising or lowering one side, making certain it is flush against the wall. This step will also help to prevent any water pooling that might occur if the unit is not positioned correctly.
Once the vanity is level, it is important to check the vertical alignment as well. Measure the distance from the floor to the bottom of the unit on both sides to confirm consistency. If the measurements differ, additional adjustments may be necessary. In regions such as Ball Green, Stoke-on-Trent, vanity installation often benefits from careful alignment checks to enhance the overall appearance of the bathroom space.
FAQS
What tools do I need to attach a vanity unit to a wall?
To attach a vanity unit to a wall, you will typically need a drill, a level, screws, brackets, and a stud finder. Additional tools may include a measuring tape and a pencil for marking.
How do I find studs in the wall for securing my vanity unit?
You can find studs in the wall by using a stud finder, which detects changes in density within the wall. Alternatively, you can knock on the wall and listen for a hollow sound, indicating a space between studs.
Is it necessary to use brackets when attaching a vanity unit?
Yes, using brackets is recommended to provide additional support and stability for the vanity unit, ensuring it is securely anchored to the wall and preventing movement over time.
How can I ensure my vanity unit is level after installation?
After attaching the vanity unit, use a spirit level to check its alignment. Adjust the unit as needed by repositioning or adjusting the screws until the bubble in the spirit level is centred.
What should I do if my wall is uneven?
If your wall is uneven, you can use shims to fill in gaps between the vanity unit and the wall, allowing for a more stable and level installation. Adjust the shims as needed until the unit is properly aligned.